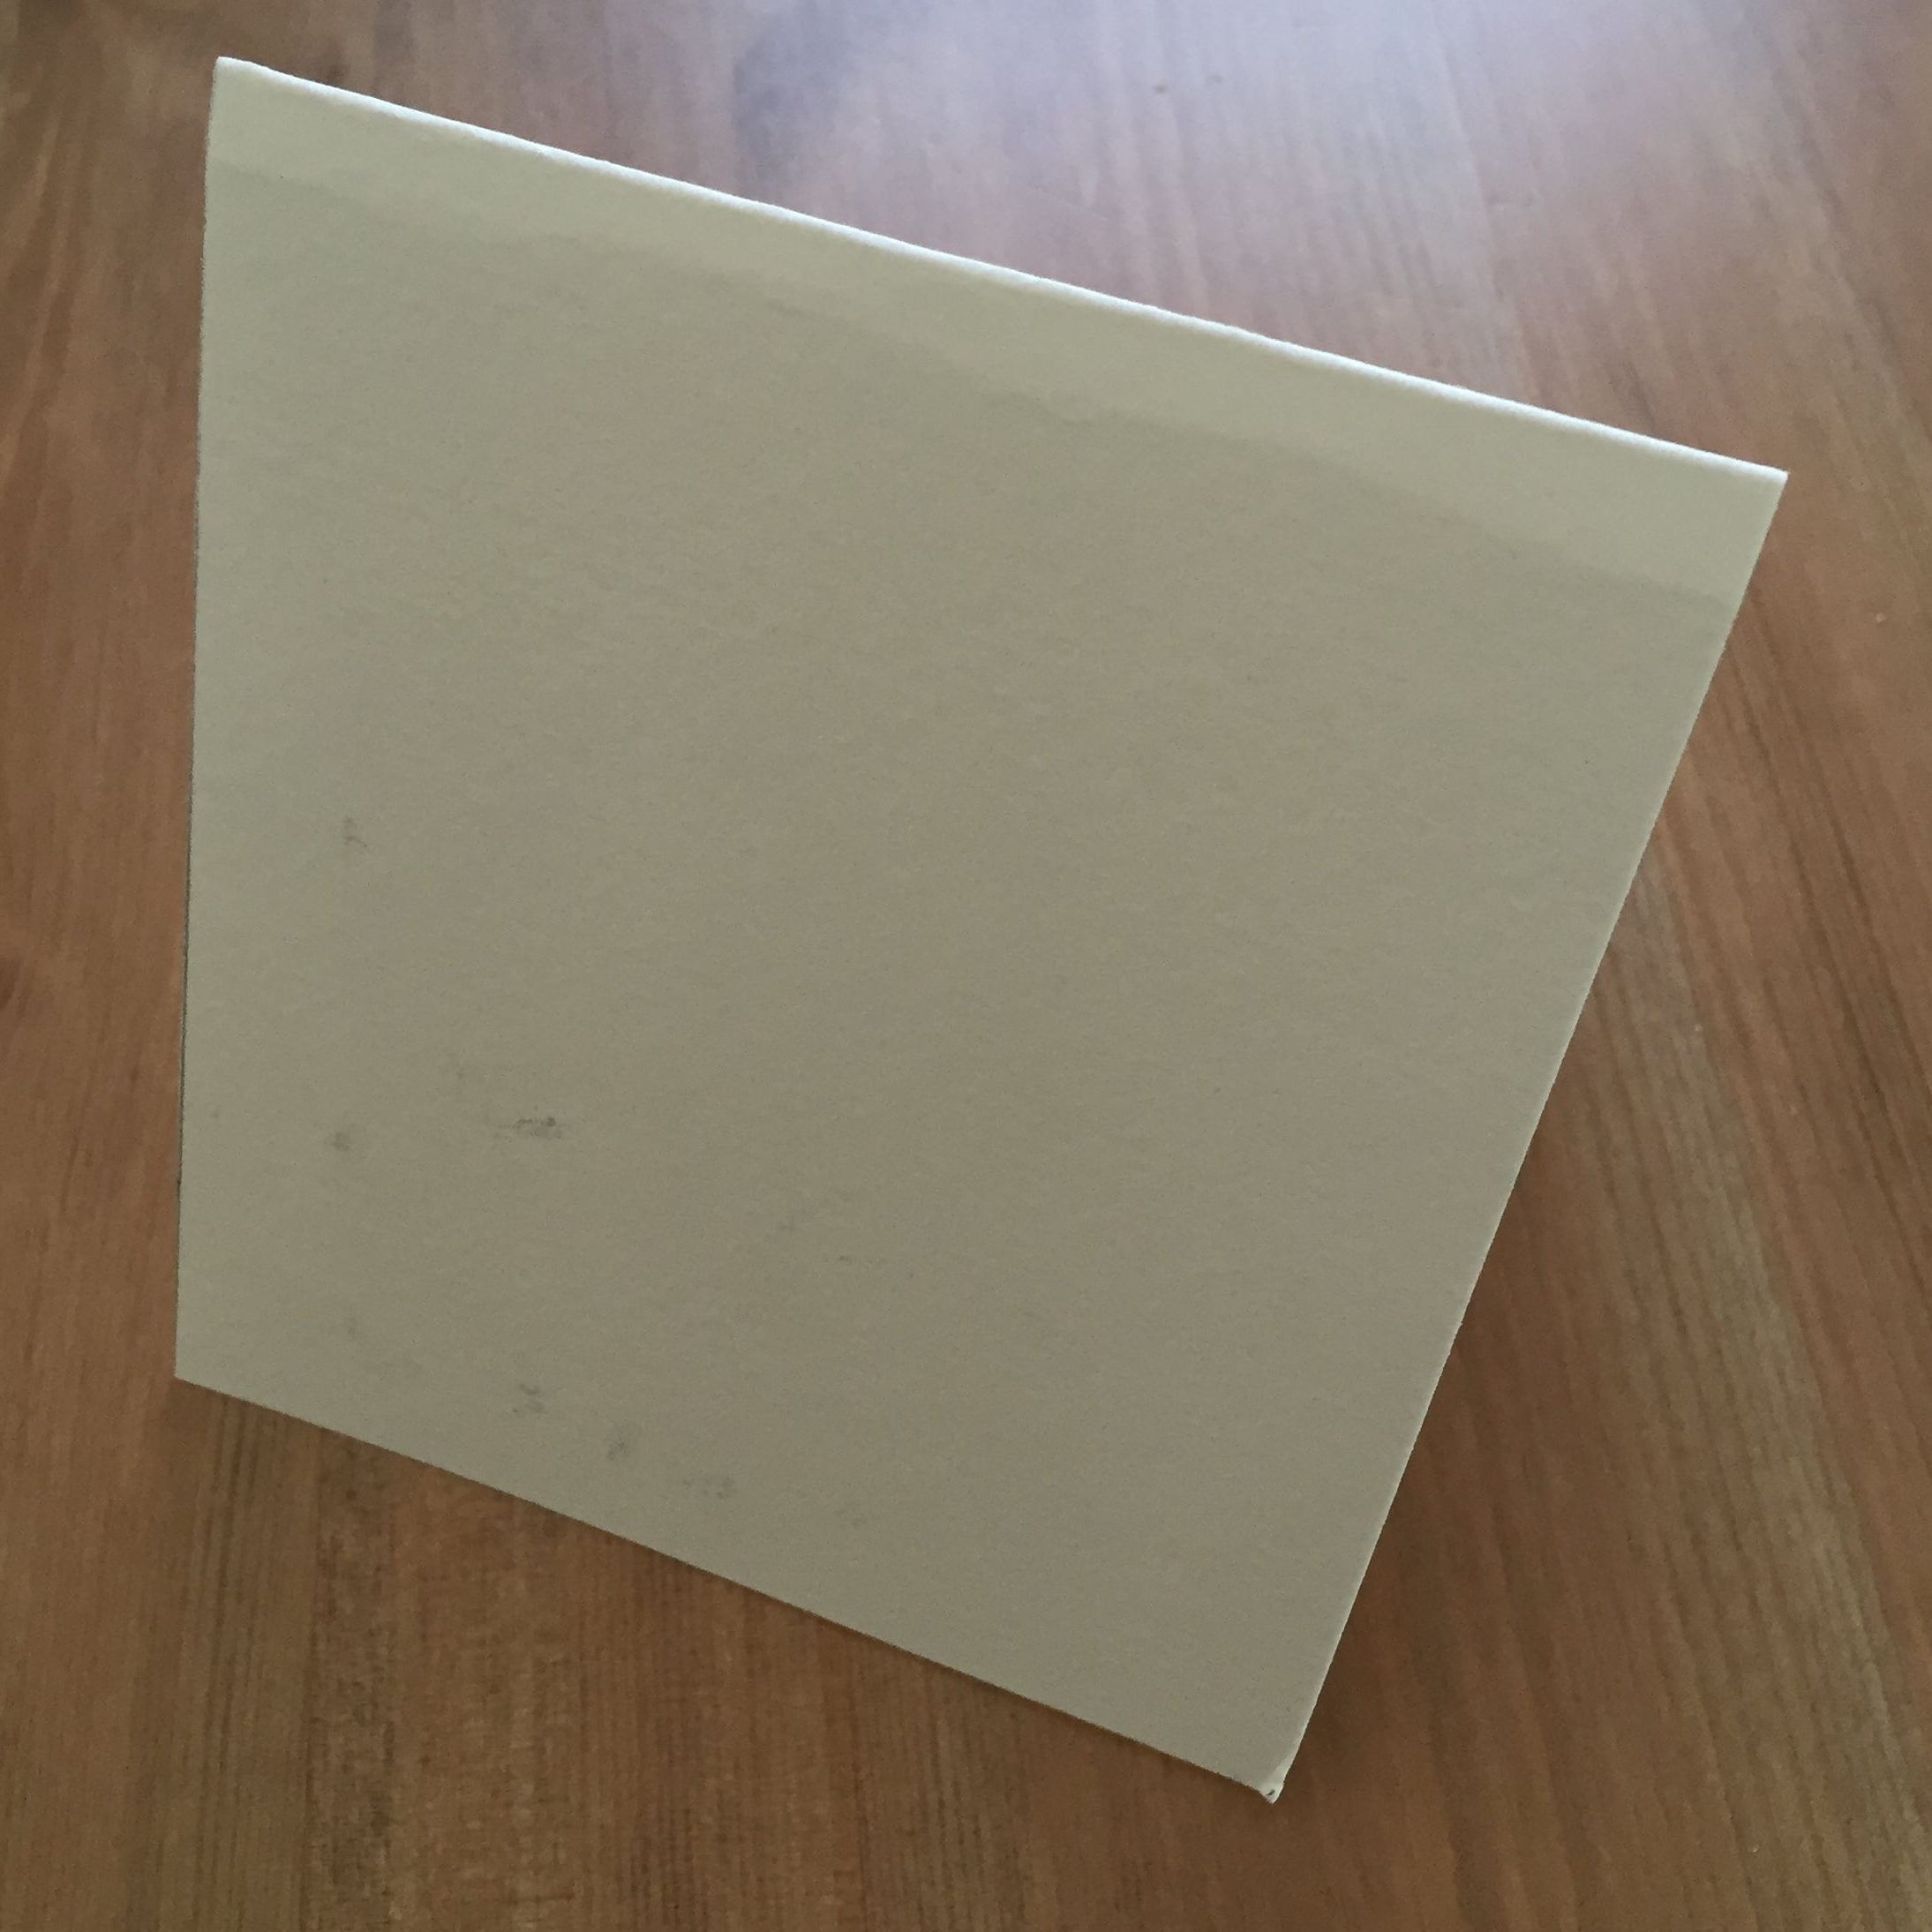
This is an 3 x 6 piece of water color paper folded in half, standing up on it's own.
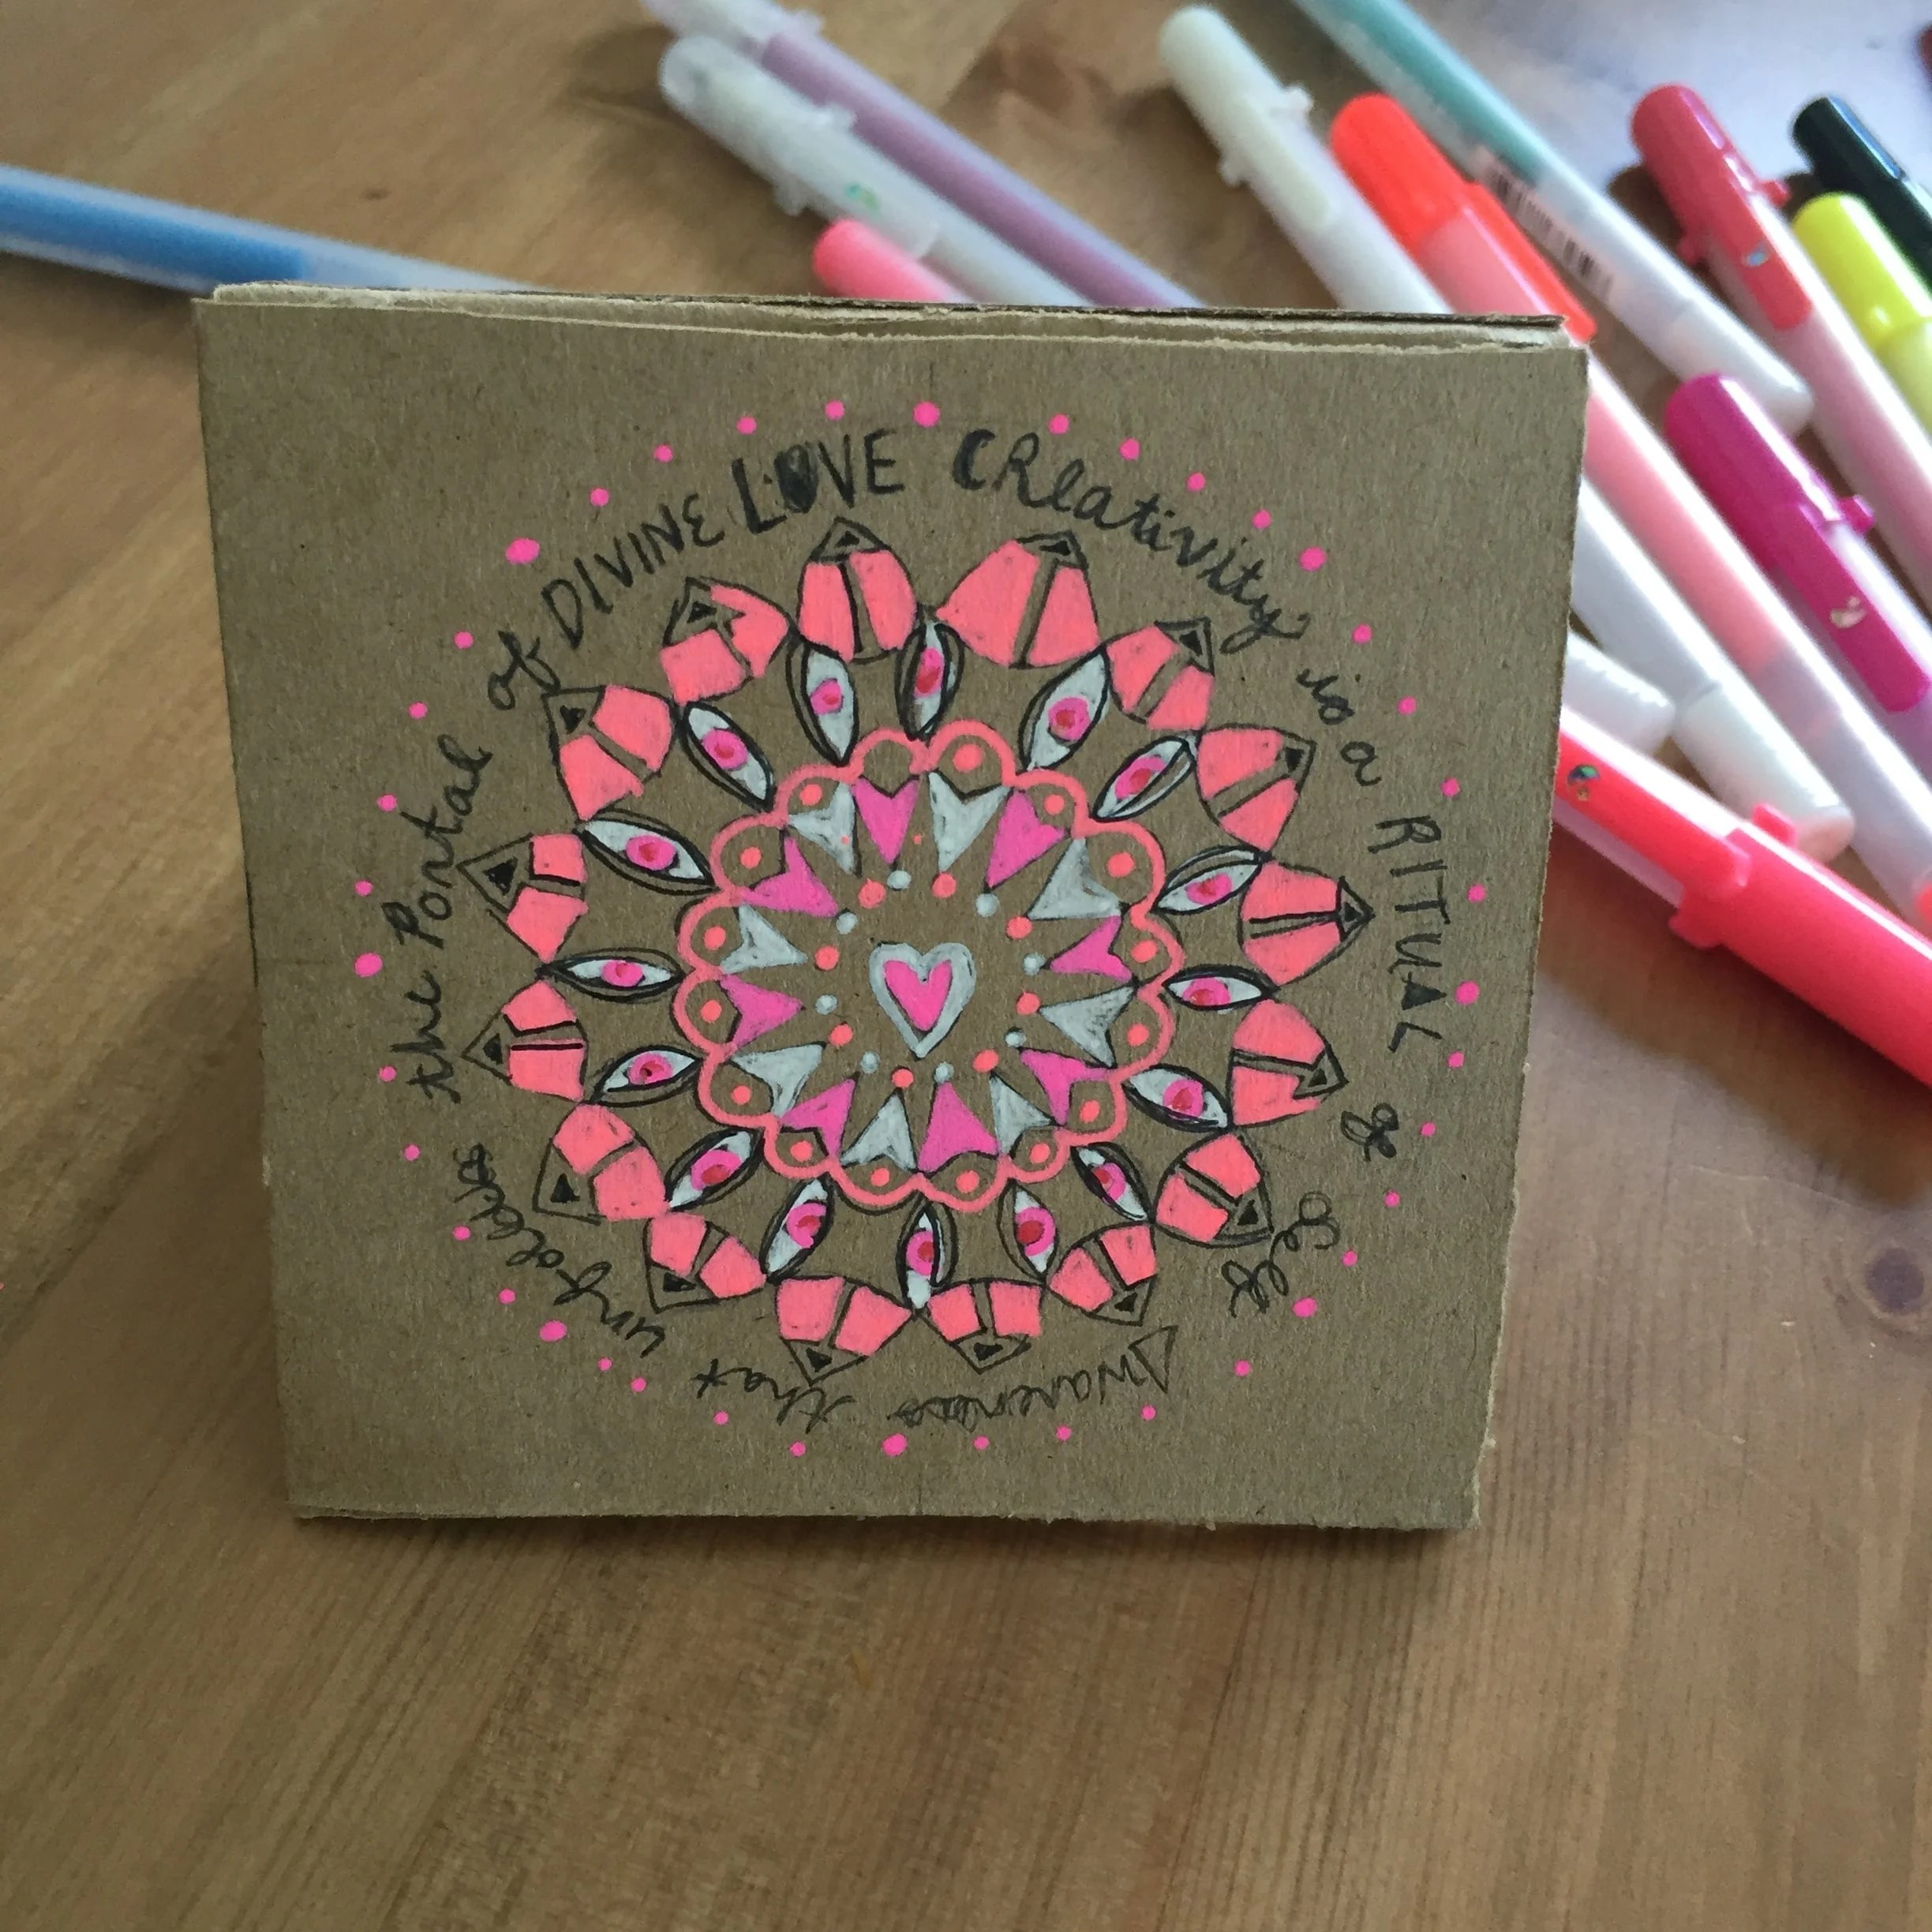
Today is a simple day. Take your definition of creativity and make that an altar piece to keep as a reminder of this process.
If you, like me, are a more visual person and you struggle with getting the right words, then allow your definition to be more fluid, or consider it a working definition. It doesn’t have to have a period at the end and can be as long or short as you need it to be.It should however convey in language a reminder of creativity. Symbols, images and pictures hold feelings, intentions or bhavanas. Words are how we communicate those images to each other, and to ourselves. On the other hand if you are more comfortable with words, then add to those words an image or symbol of what the word-definition is evoking—we are aiming for a balance of image and word.
I want to keep these first few projects simple so that they can be accomplished in a few minutes, or can be elaborated when there is more time. Whether you have 5 minutes or 5 hours, you should be able to create an altar piece.
Making your Altar Piece
There are a few ways to go about making your altar piece.
A simple version is to get a piece of water color paper, bristol paper, or heavier stock printer paper, cut it to the dimensions you like and lean it up against something on your altar.
You can also take paper or board and fold it in half and stand it up that way.
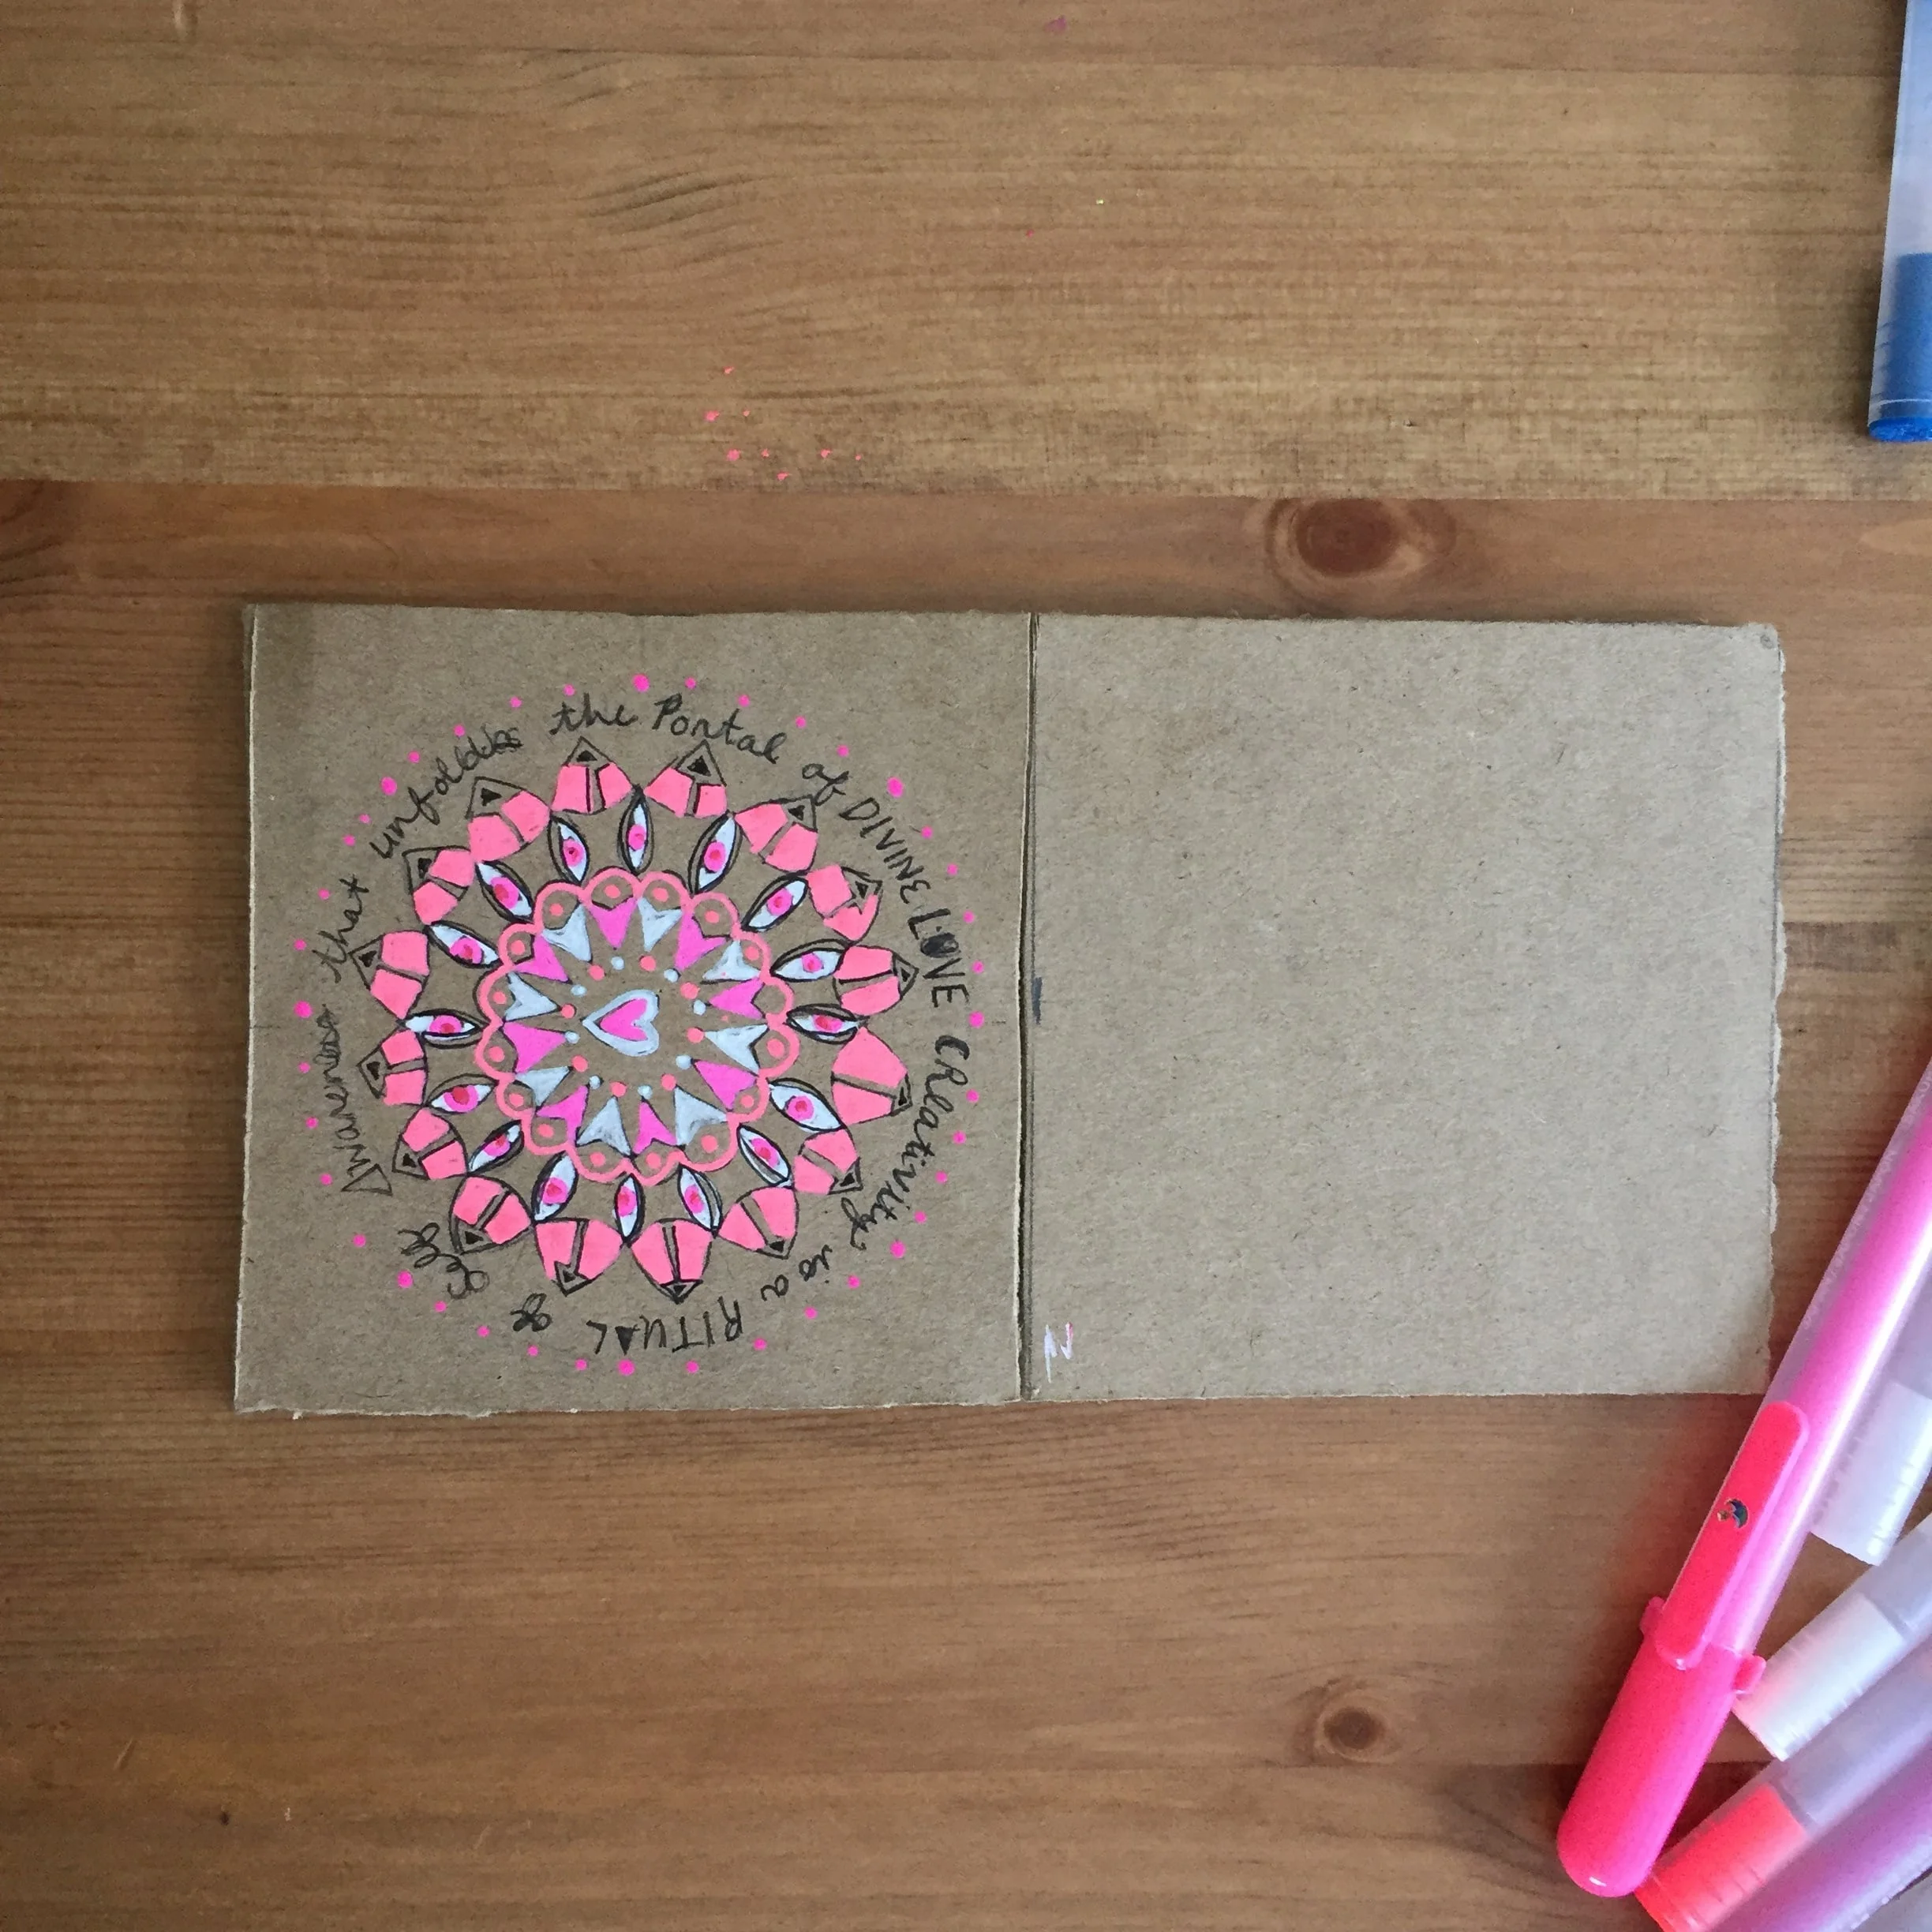
The version that I have suggested is using cardboard, which you can substitute for whatever paper you like as long as it’s thicker than regular printing paper.
I made my altar piece on the smaller side, since I am working with a traveling altar, but feel free to use whatever size you prefer.
"Tribal peoples are usually careful to keep their sacred altars movable, their architecture vernacular, but their visions otherworldly."
—James Hillman
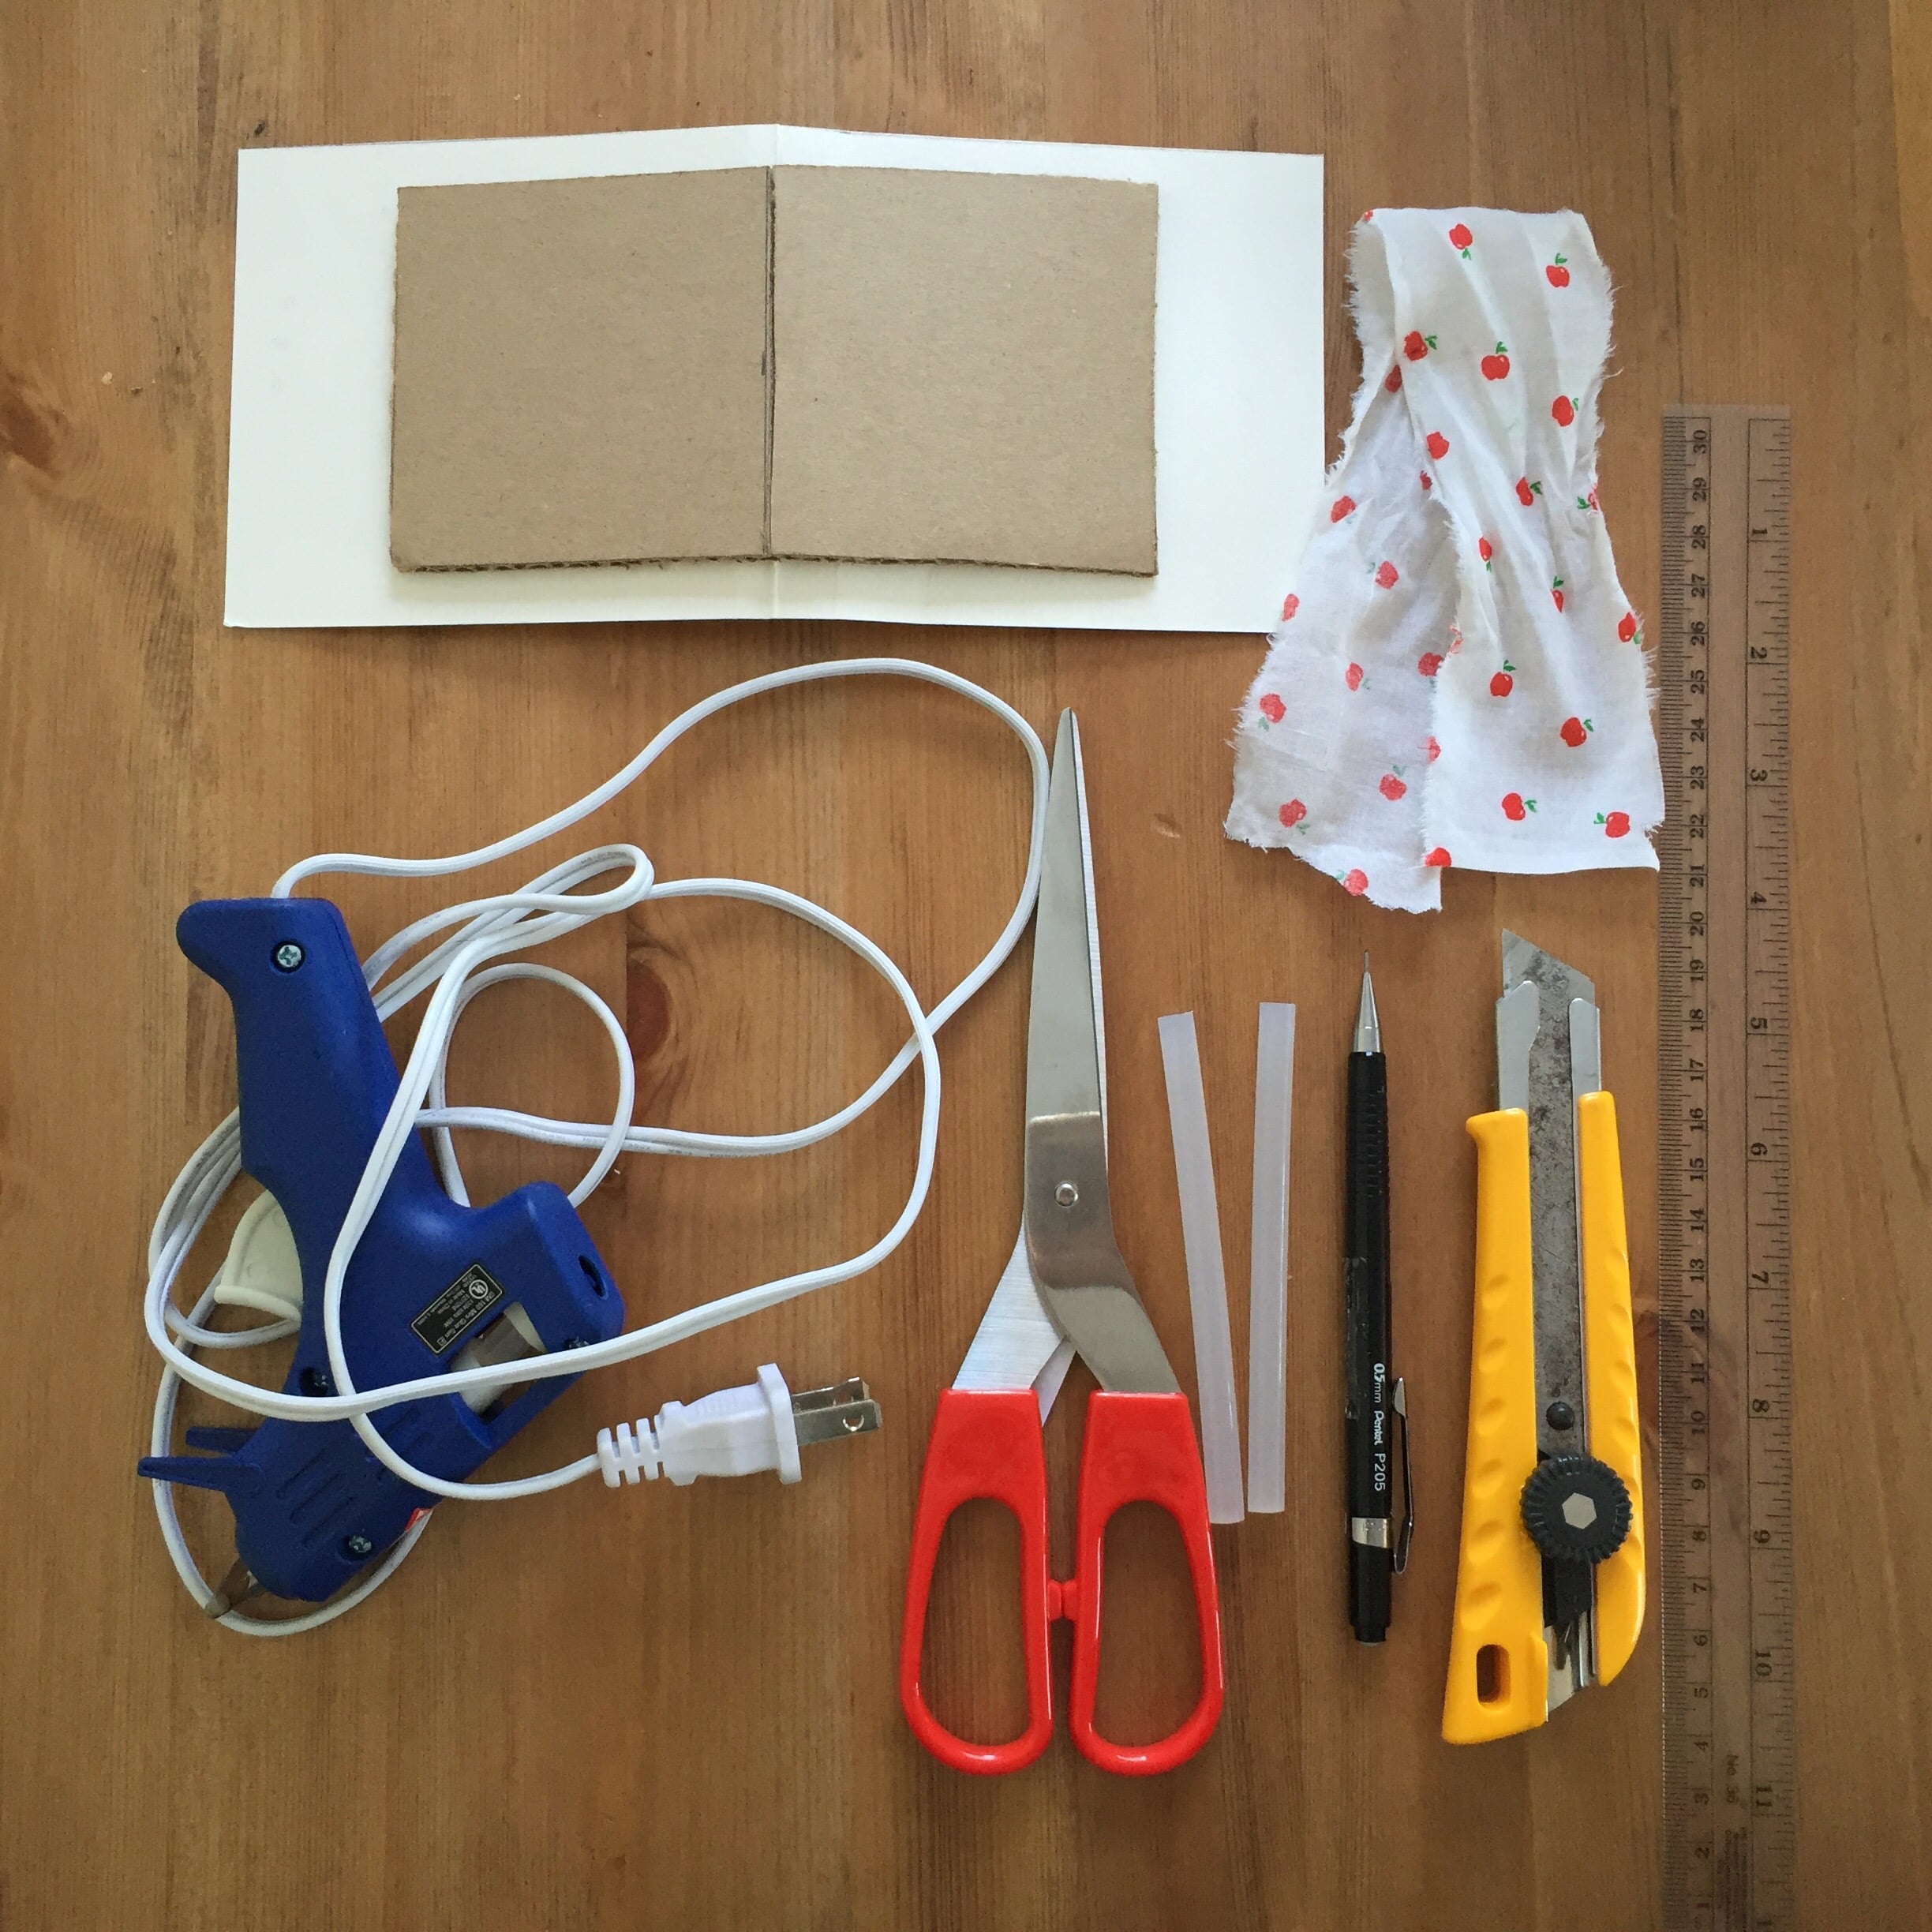
Suggested Supplies:
-A 3 x 6-inch piece of cardboard (I used a piece of an amazon box)
-Ruler
-Scissors and/or X-ACTO blade
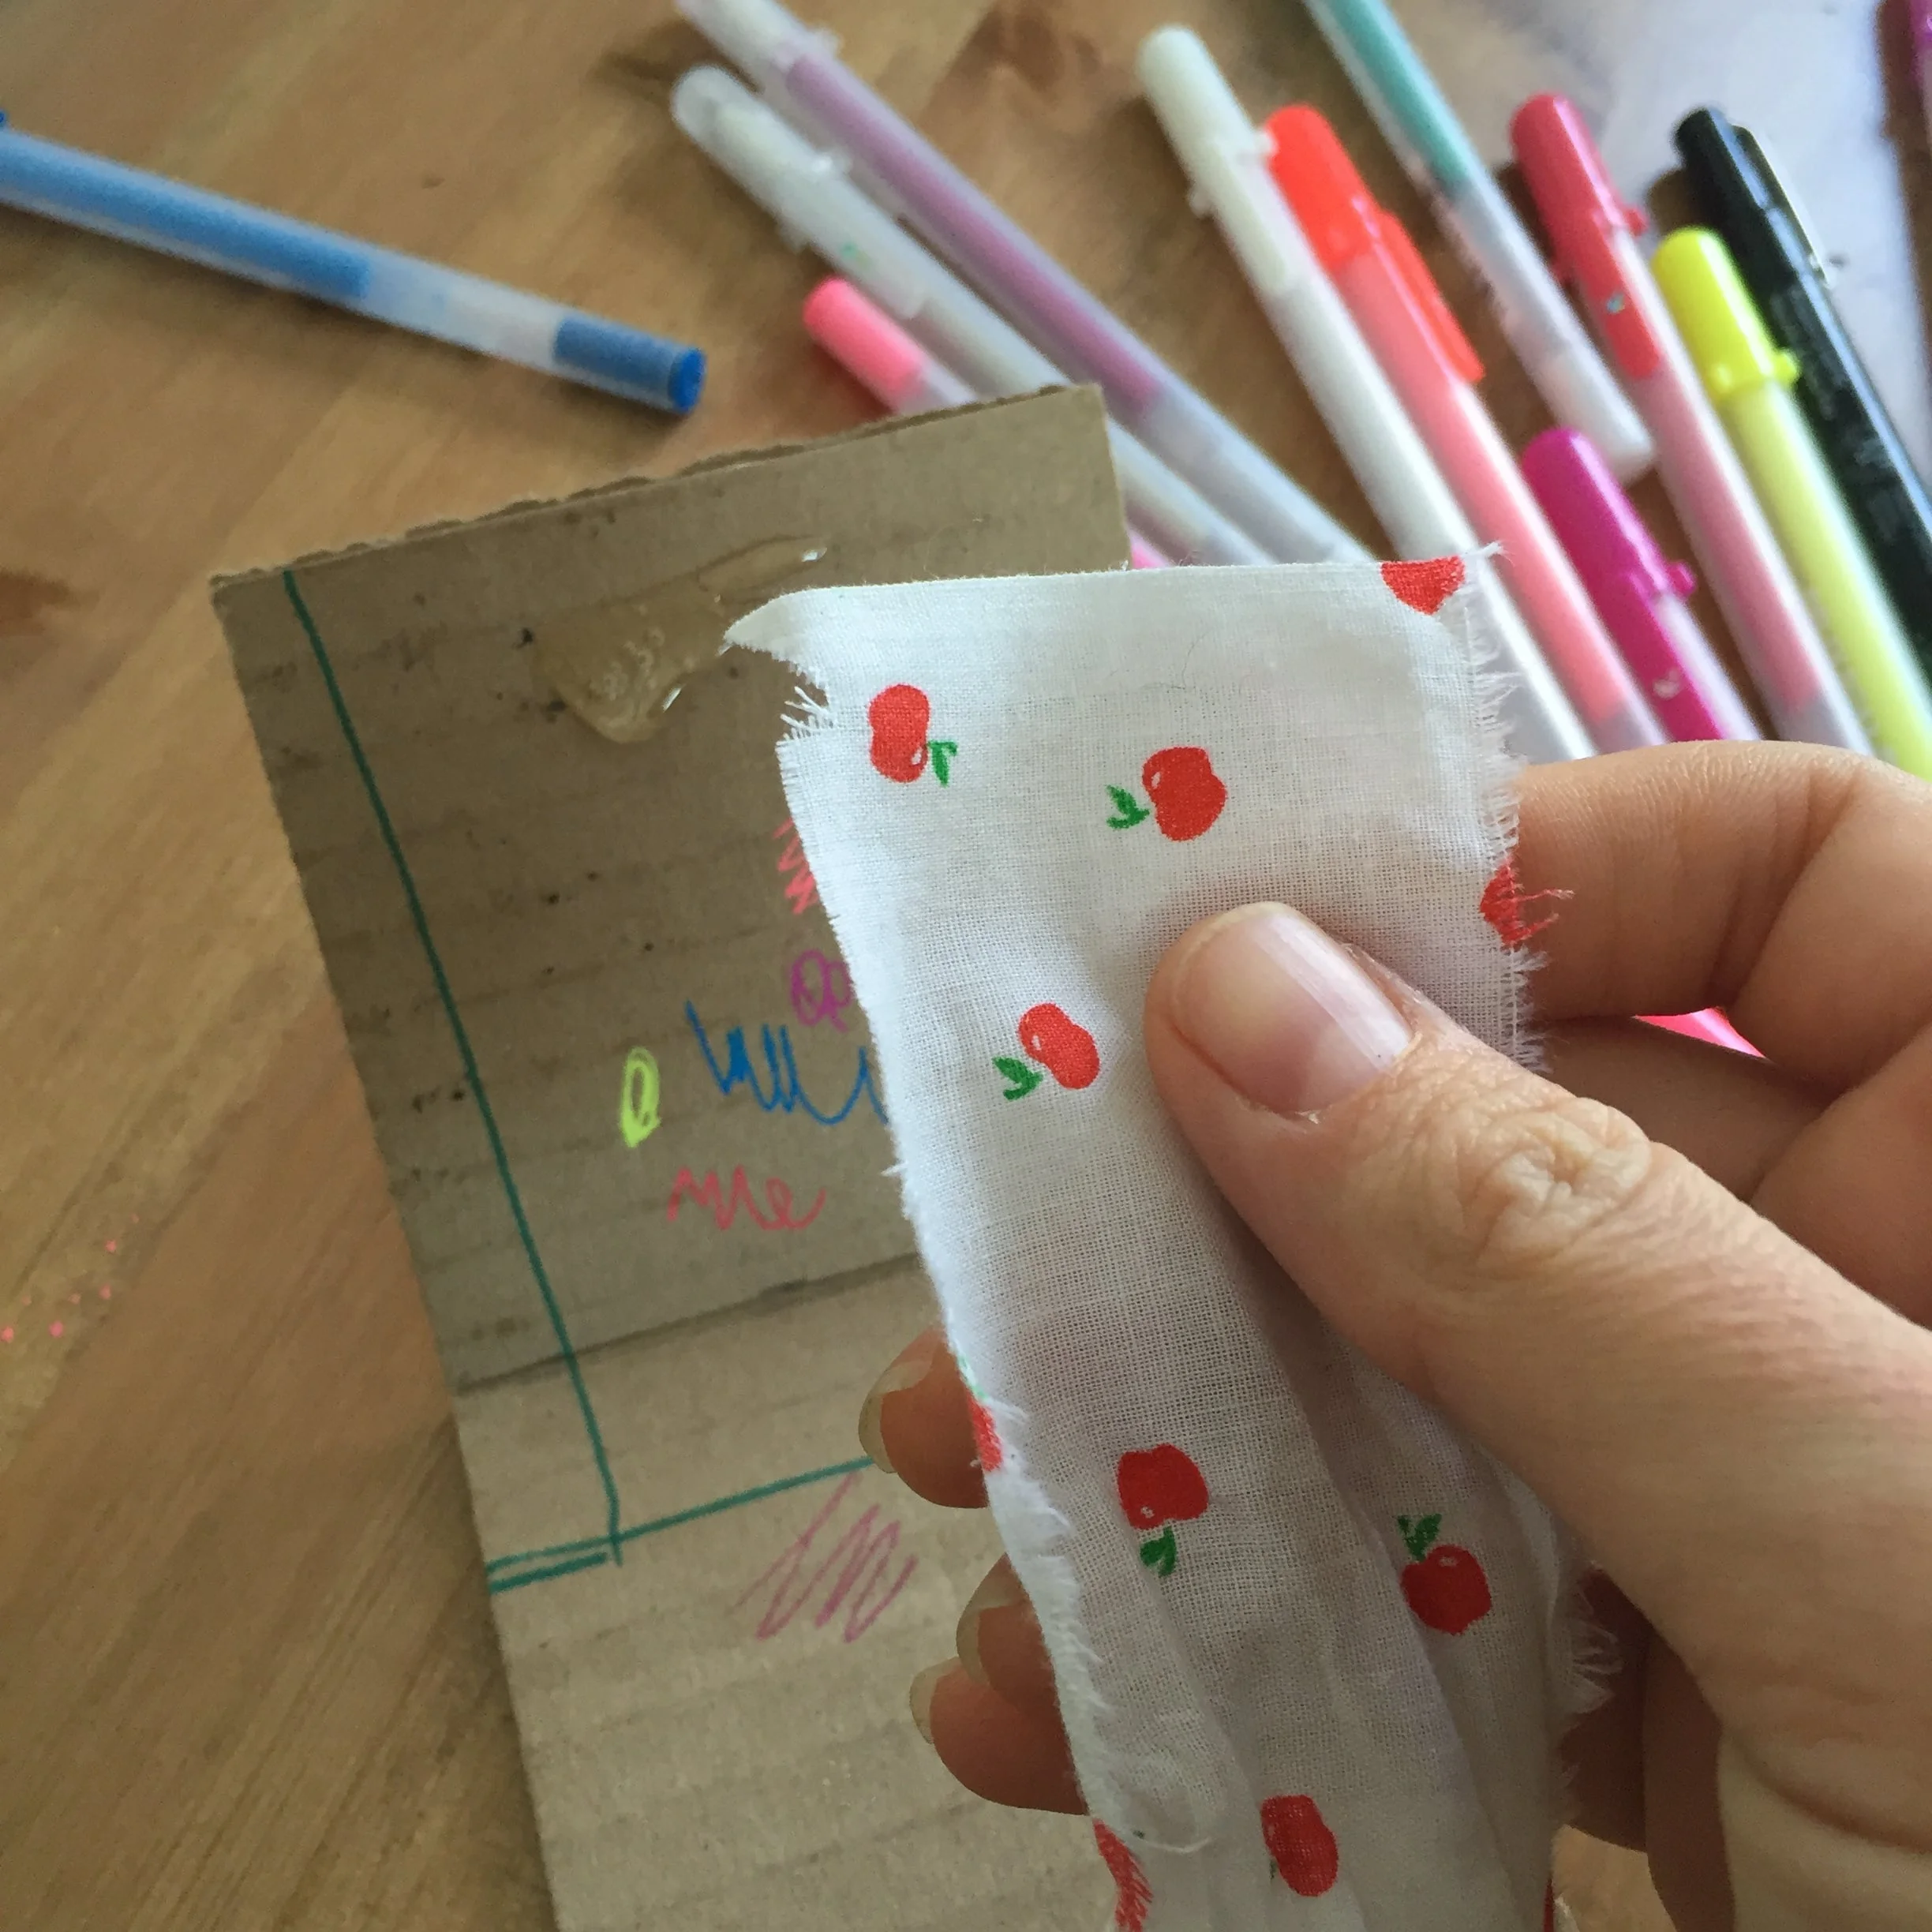
-Piece of fabric or cord
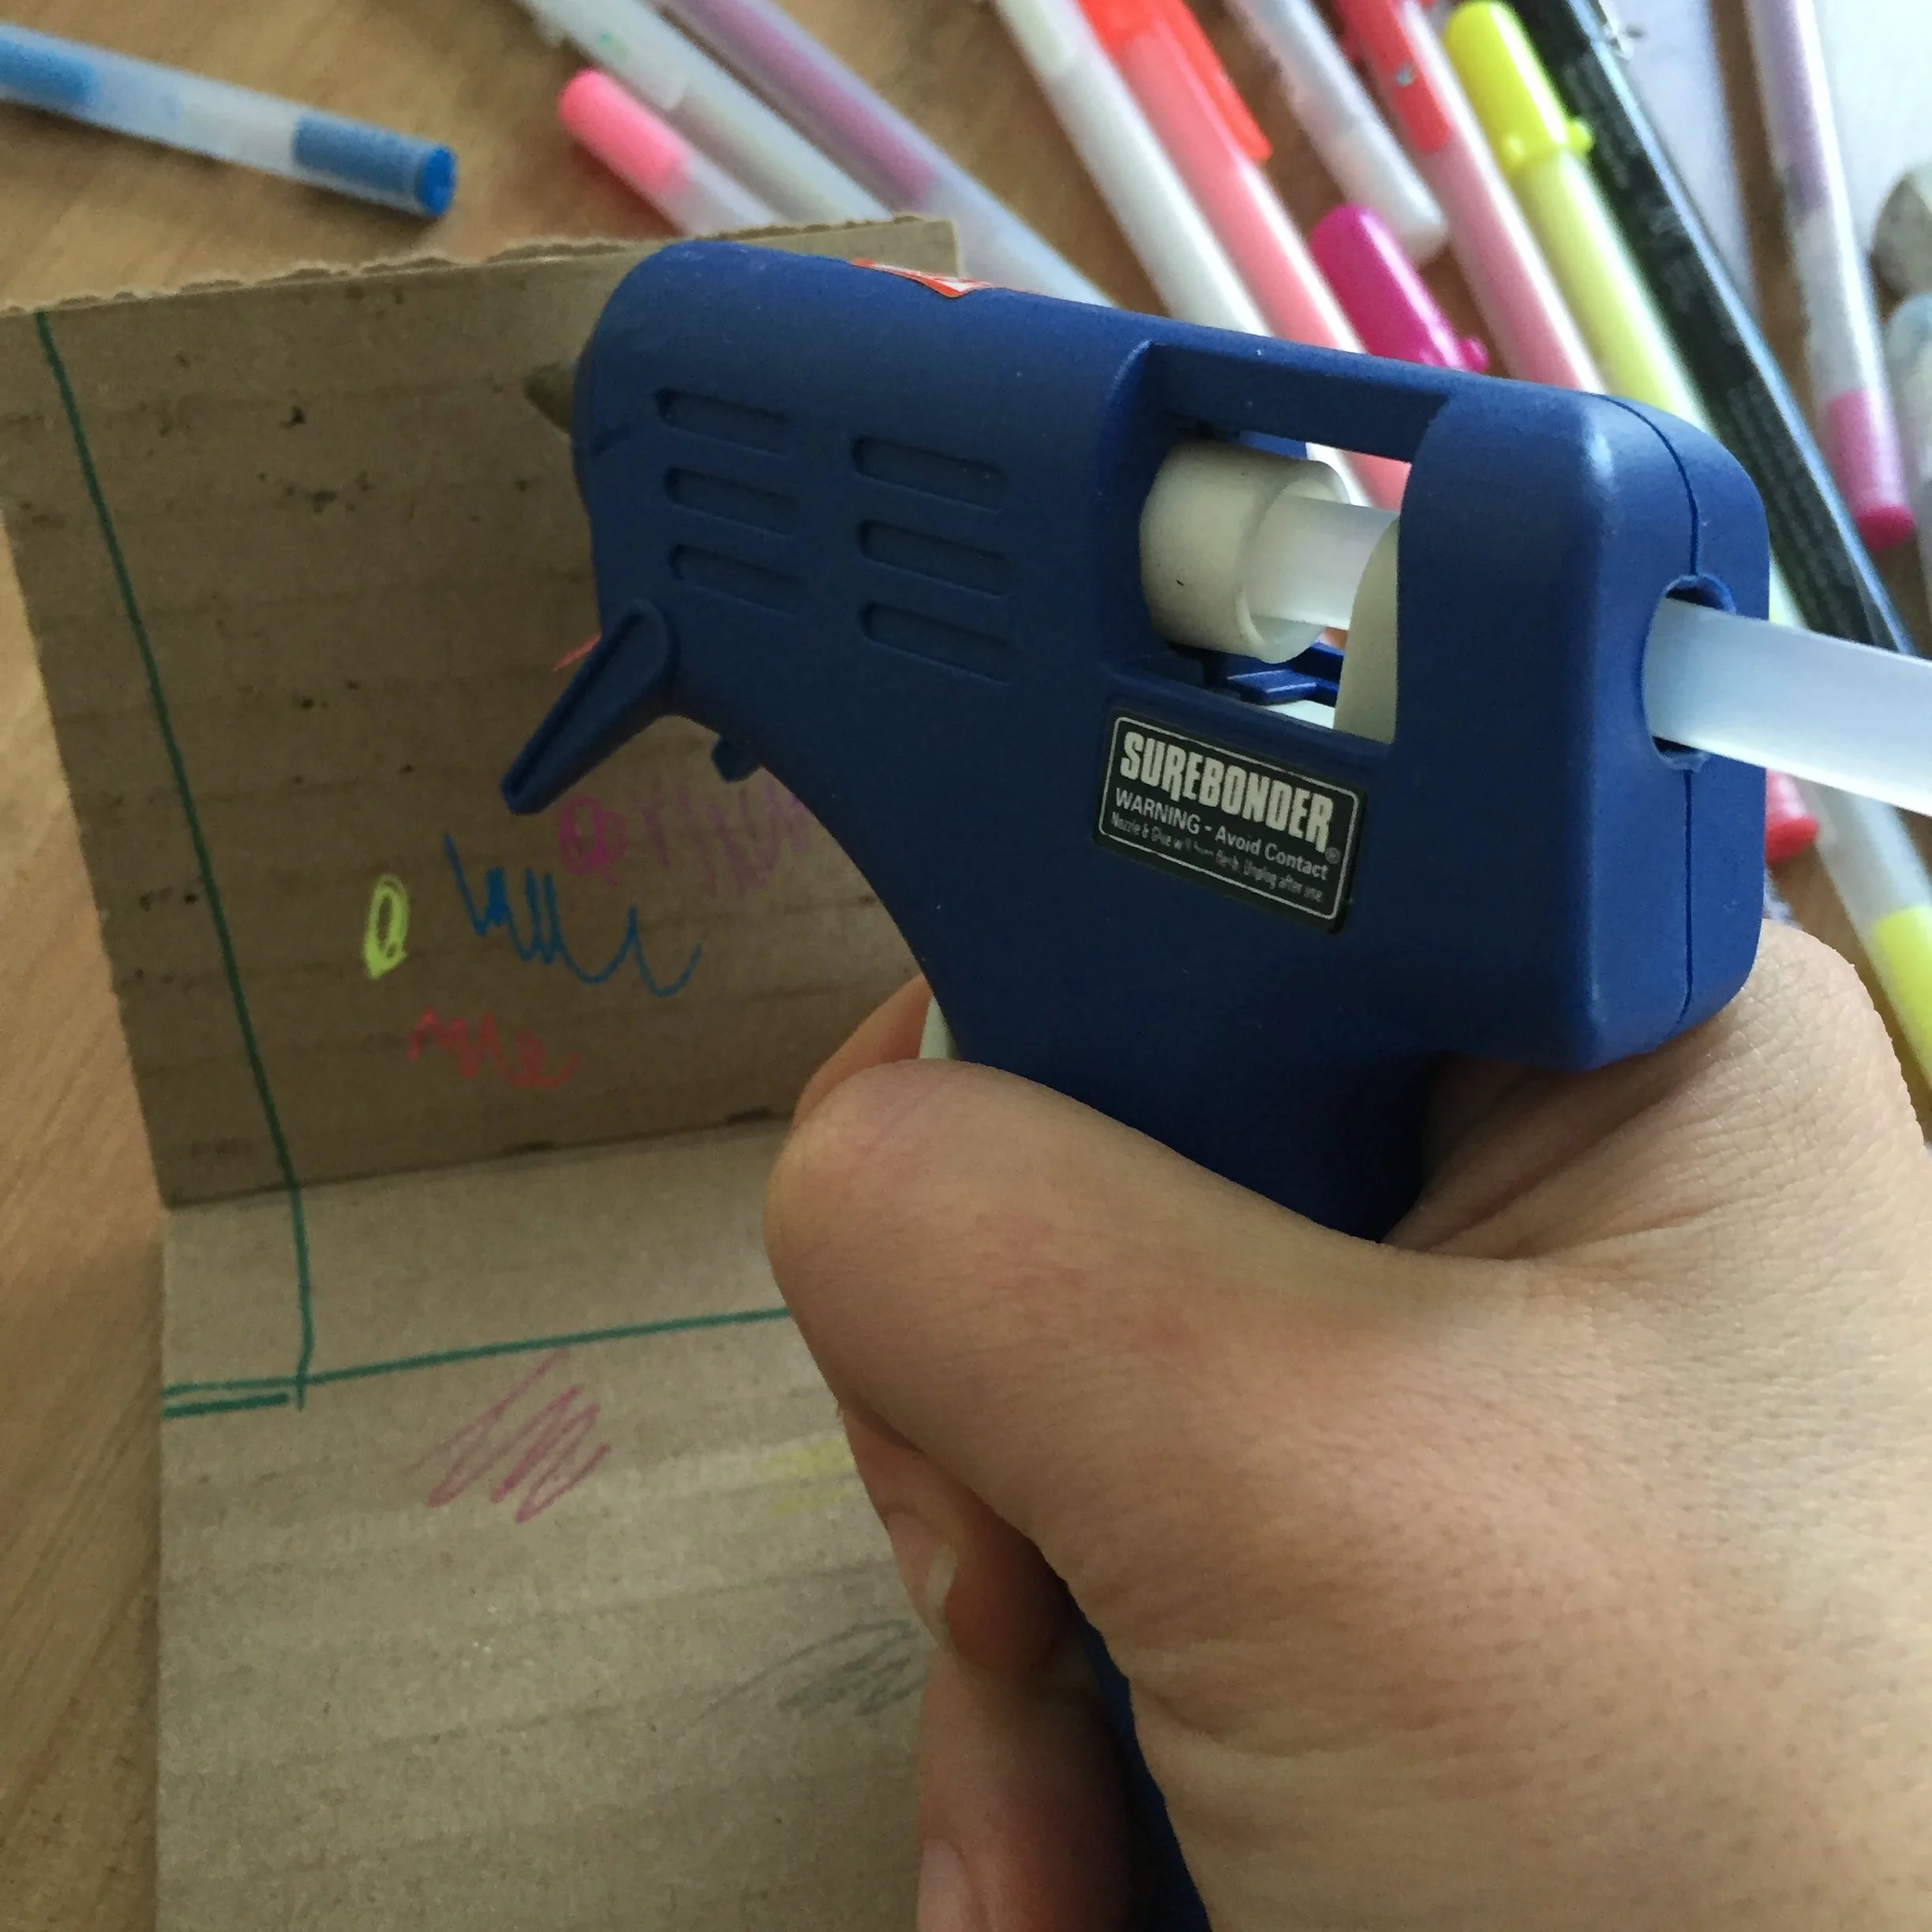
-Glue gun or stapler
-Pencil
-Markers, paints, glitter, embellishments.


Here are the steps that are also part of the slide show above.
- Cut your cardboard, and either fold it or make a small incision to fold easily.
- Draw, paint, and let your creative definition flow from heart, to hand, to page. Allow for drying time if you are using paints or anything that needs longer drying times.
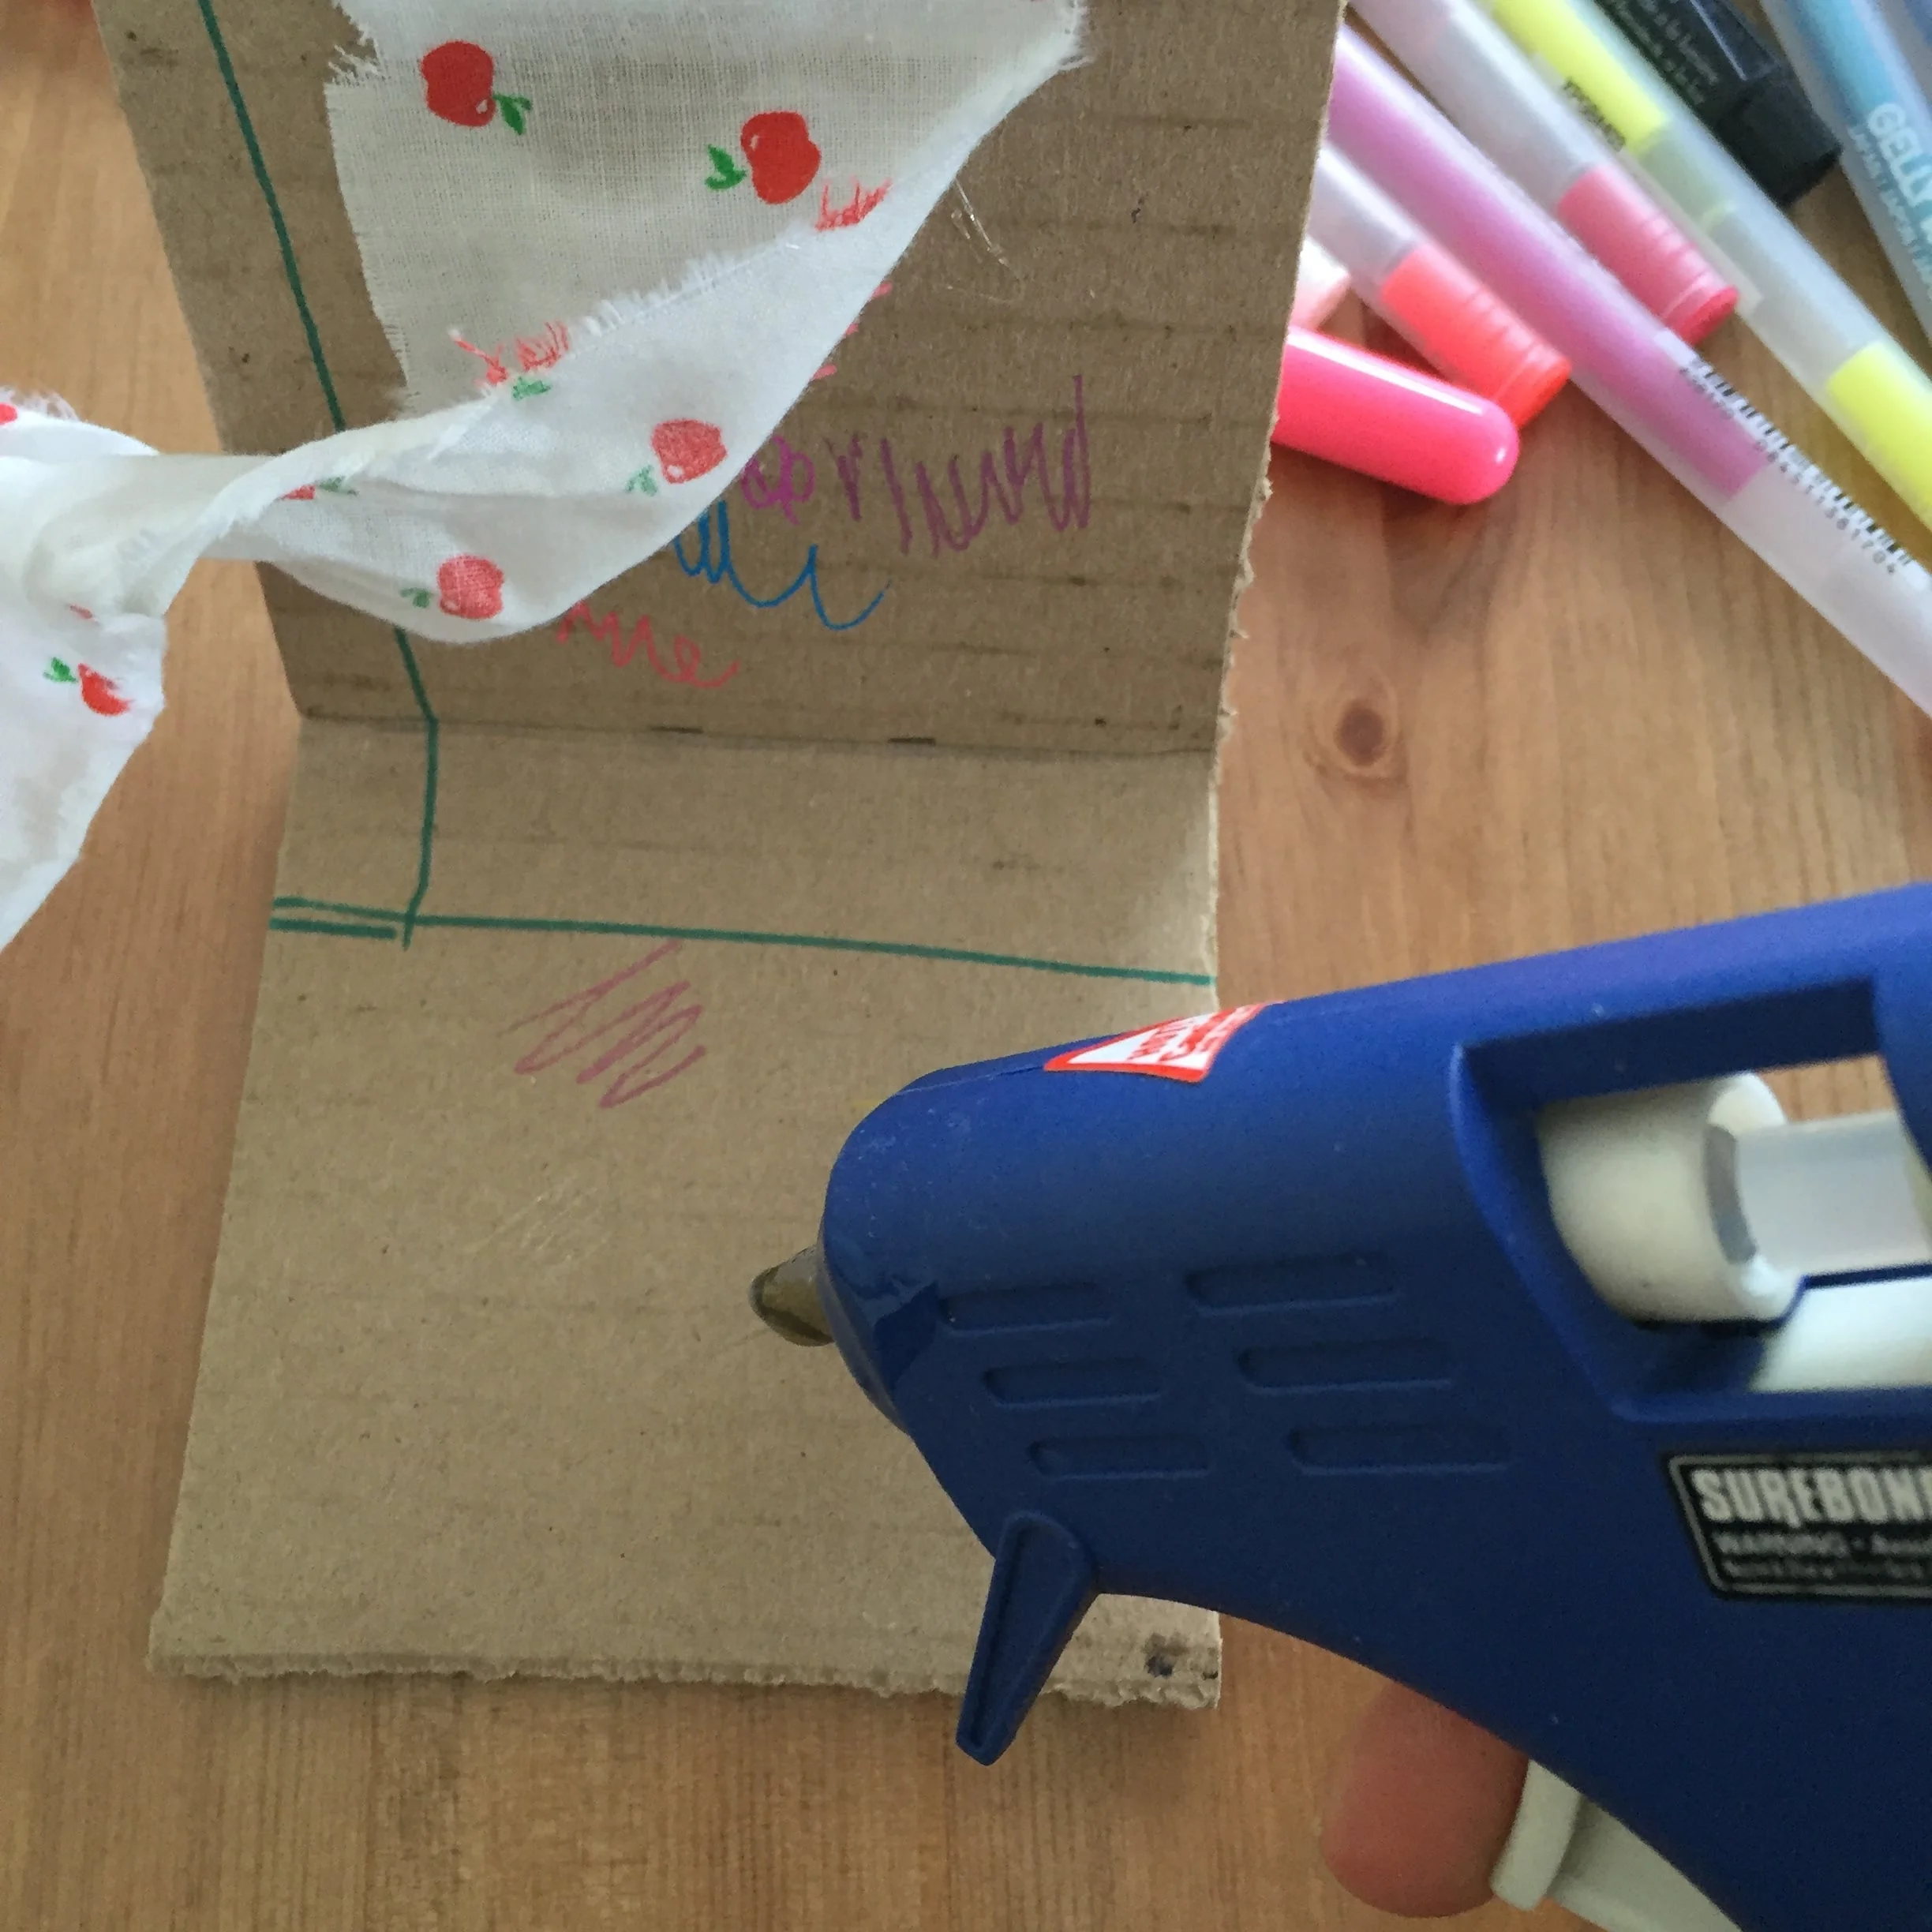
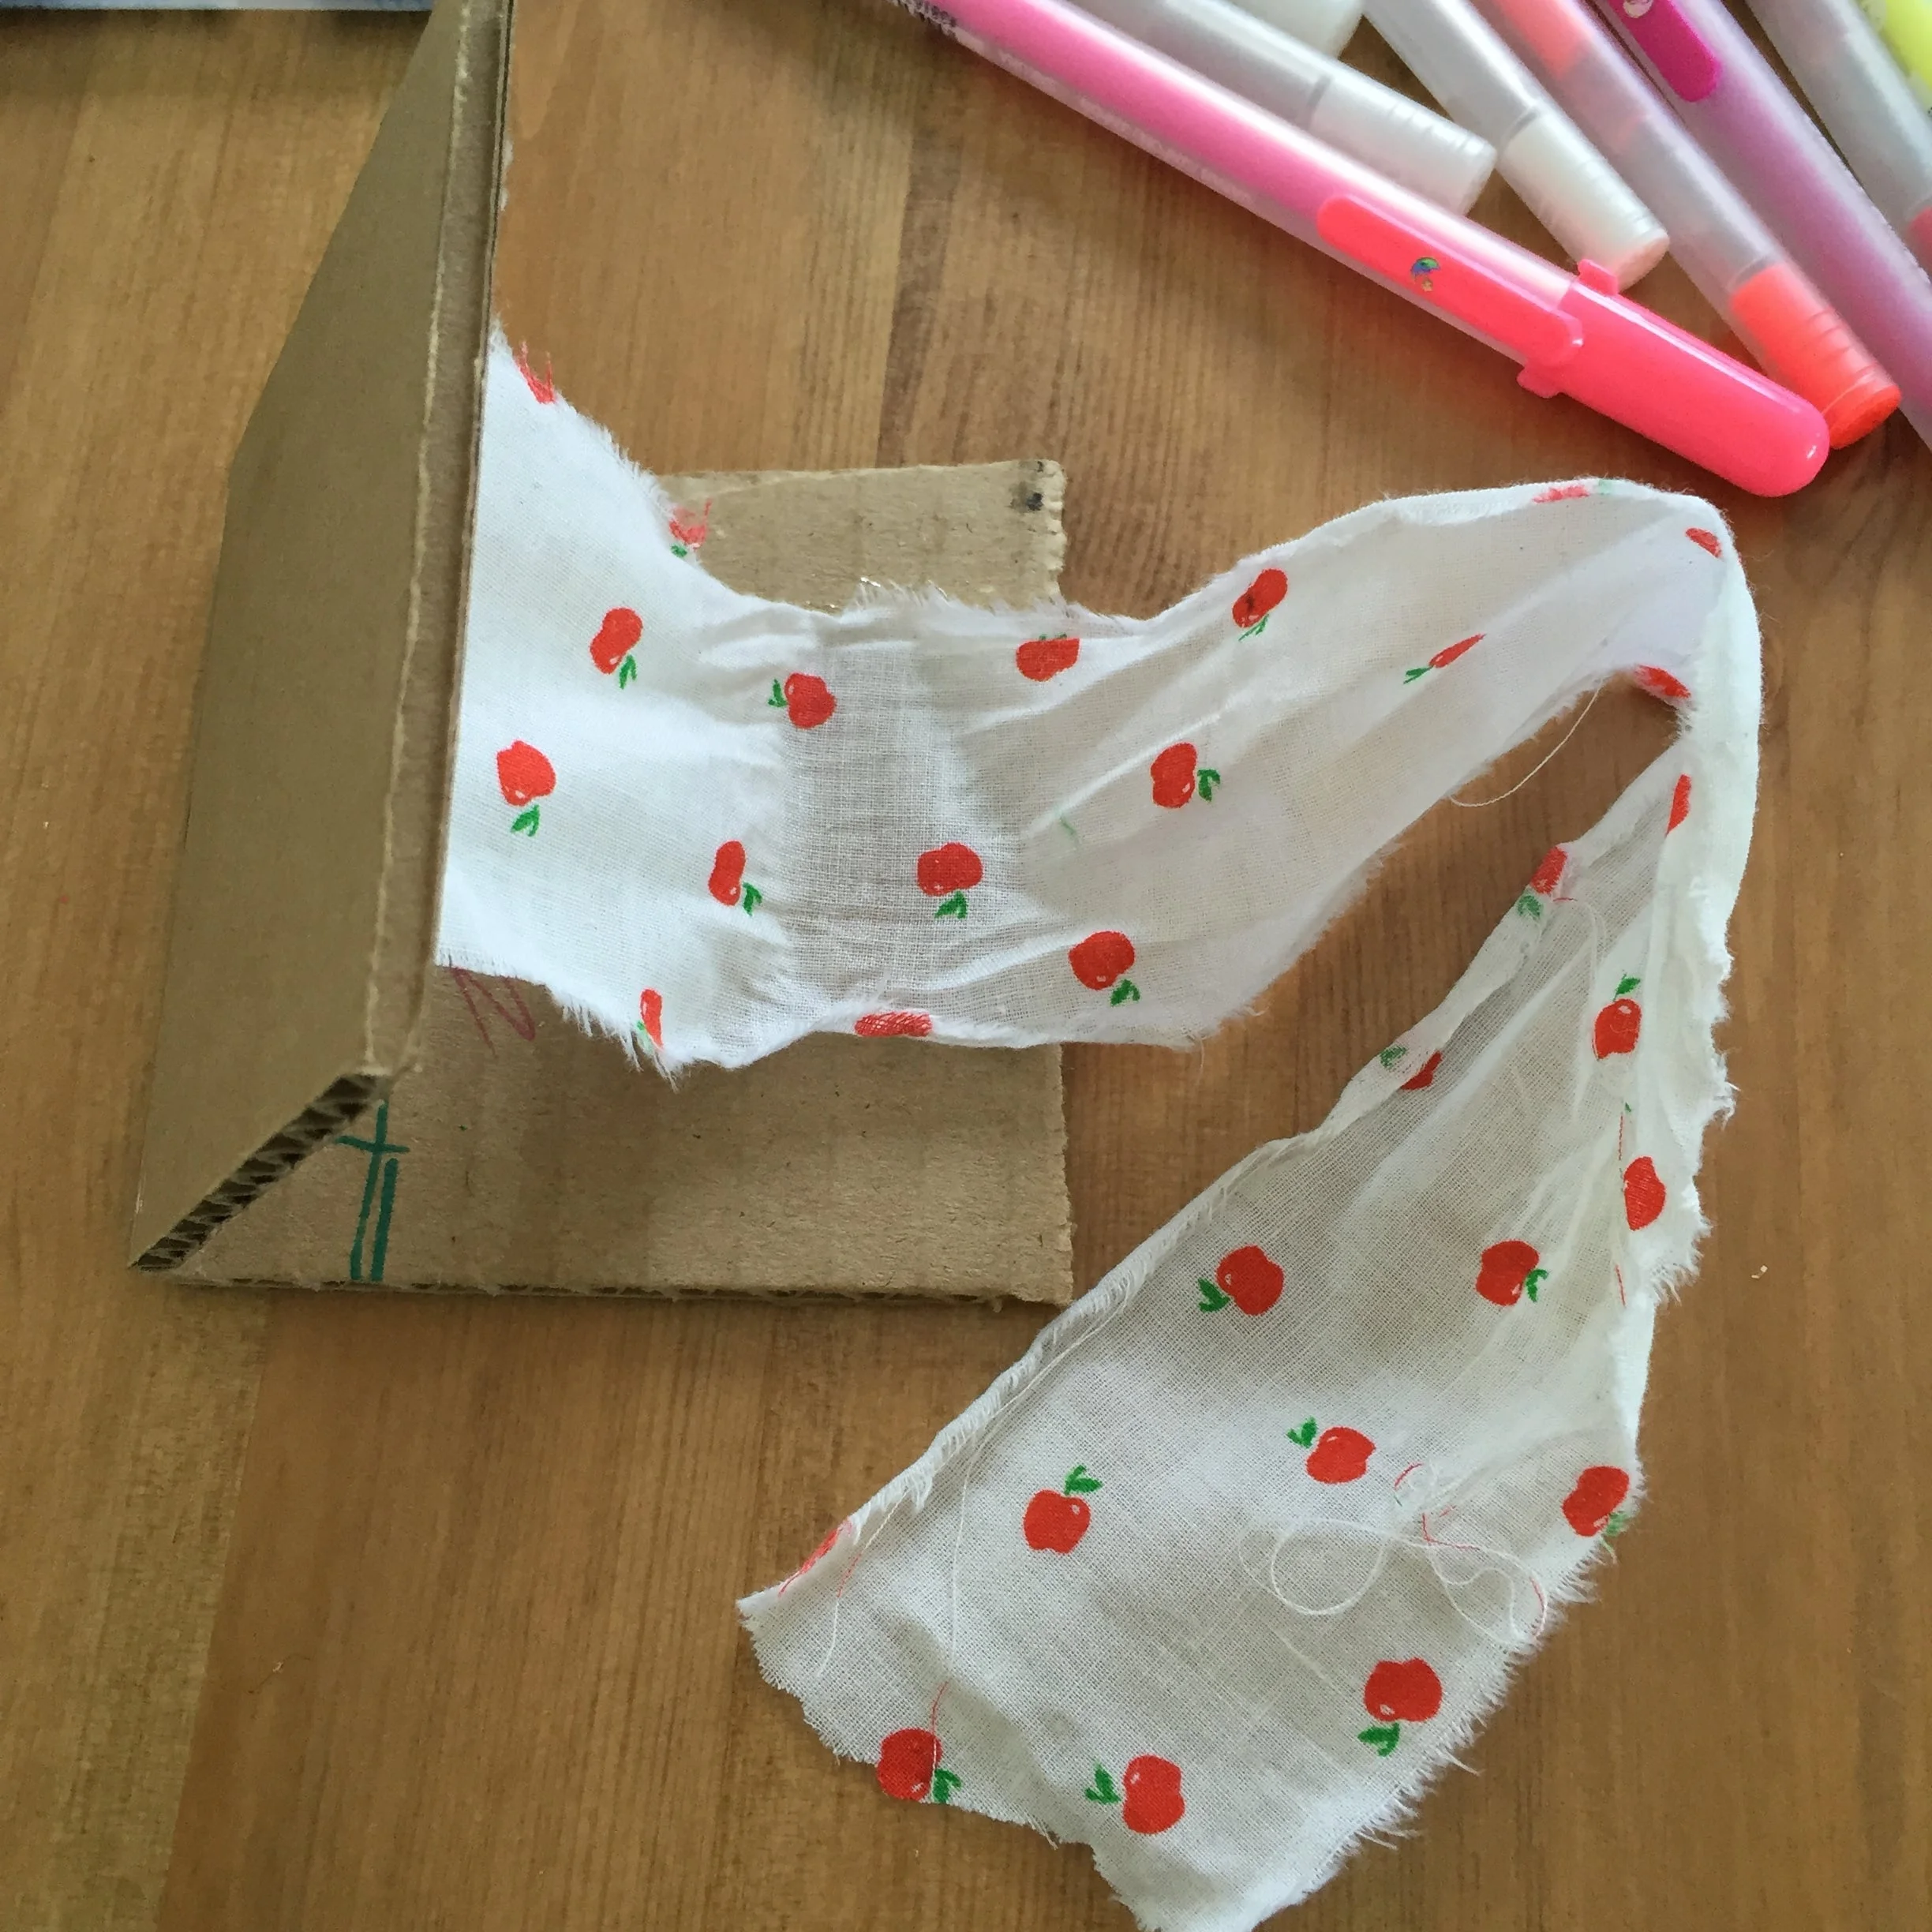
- On the inside (bottom) of your cut cardboard, spread some of the hot glue.
- Attach one end of the fabric or cord (if you don’t have a glue gun, you can staple your fabric). Press, hold and wait to make sure your fabric is glued before continuing.
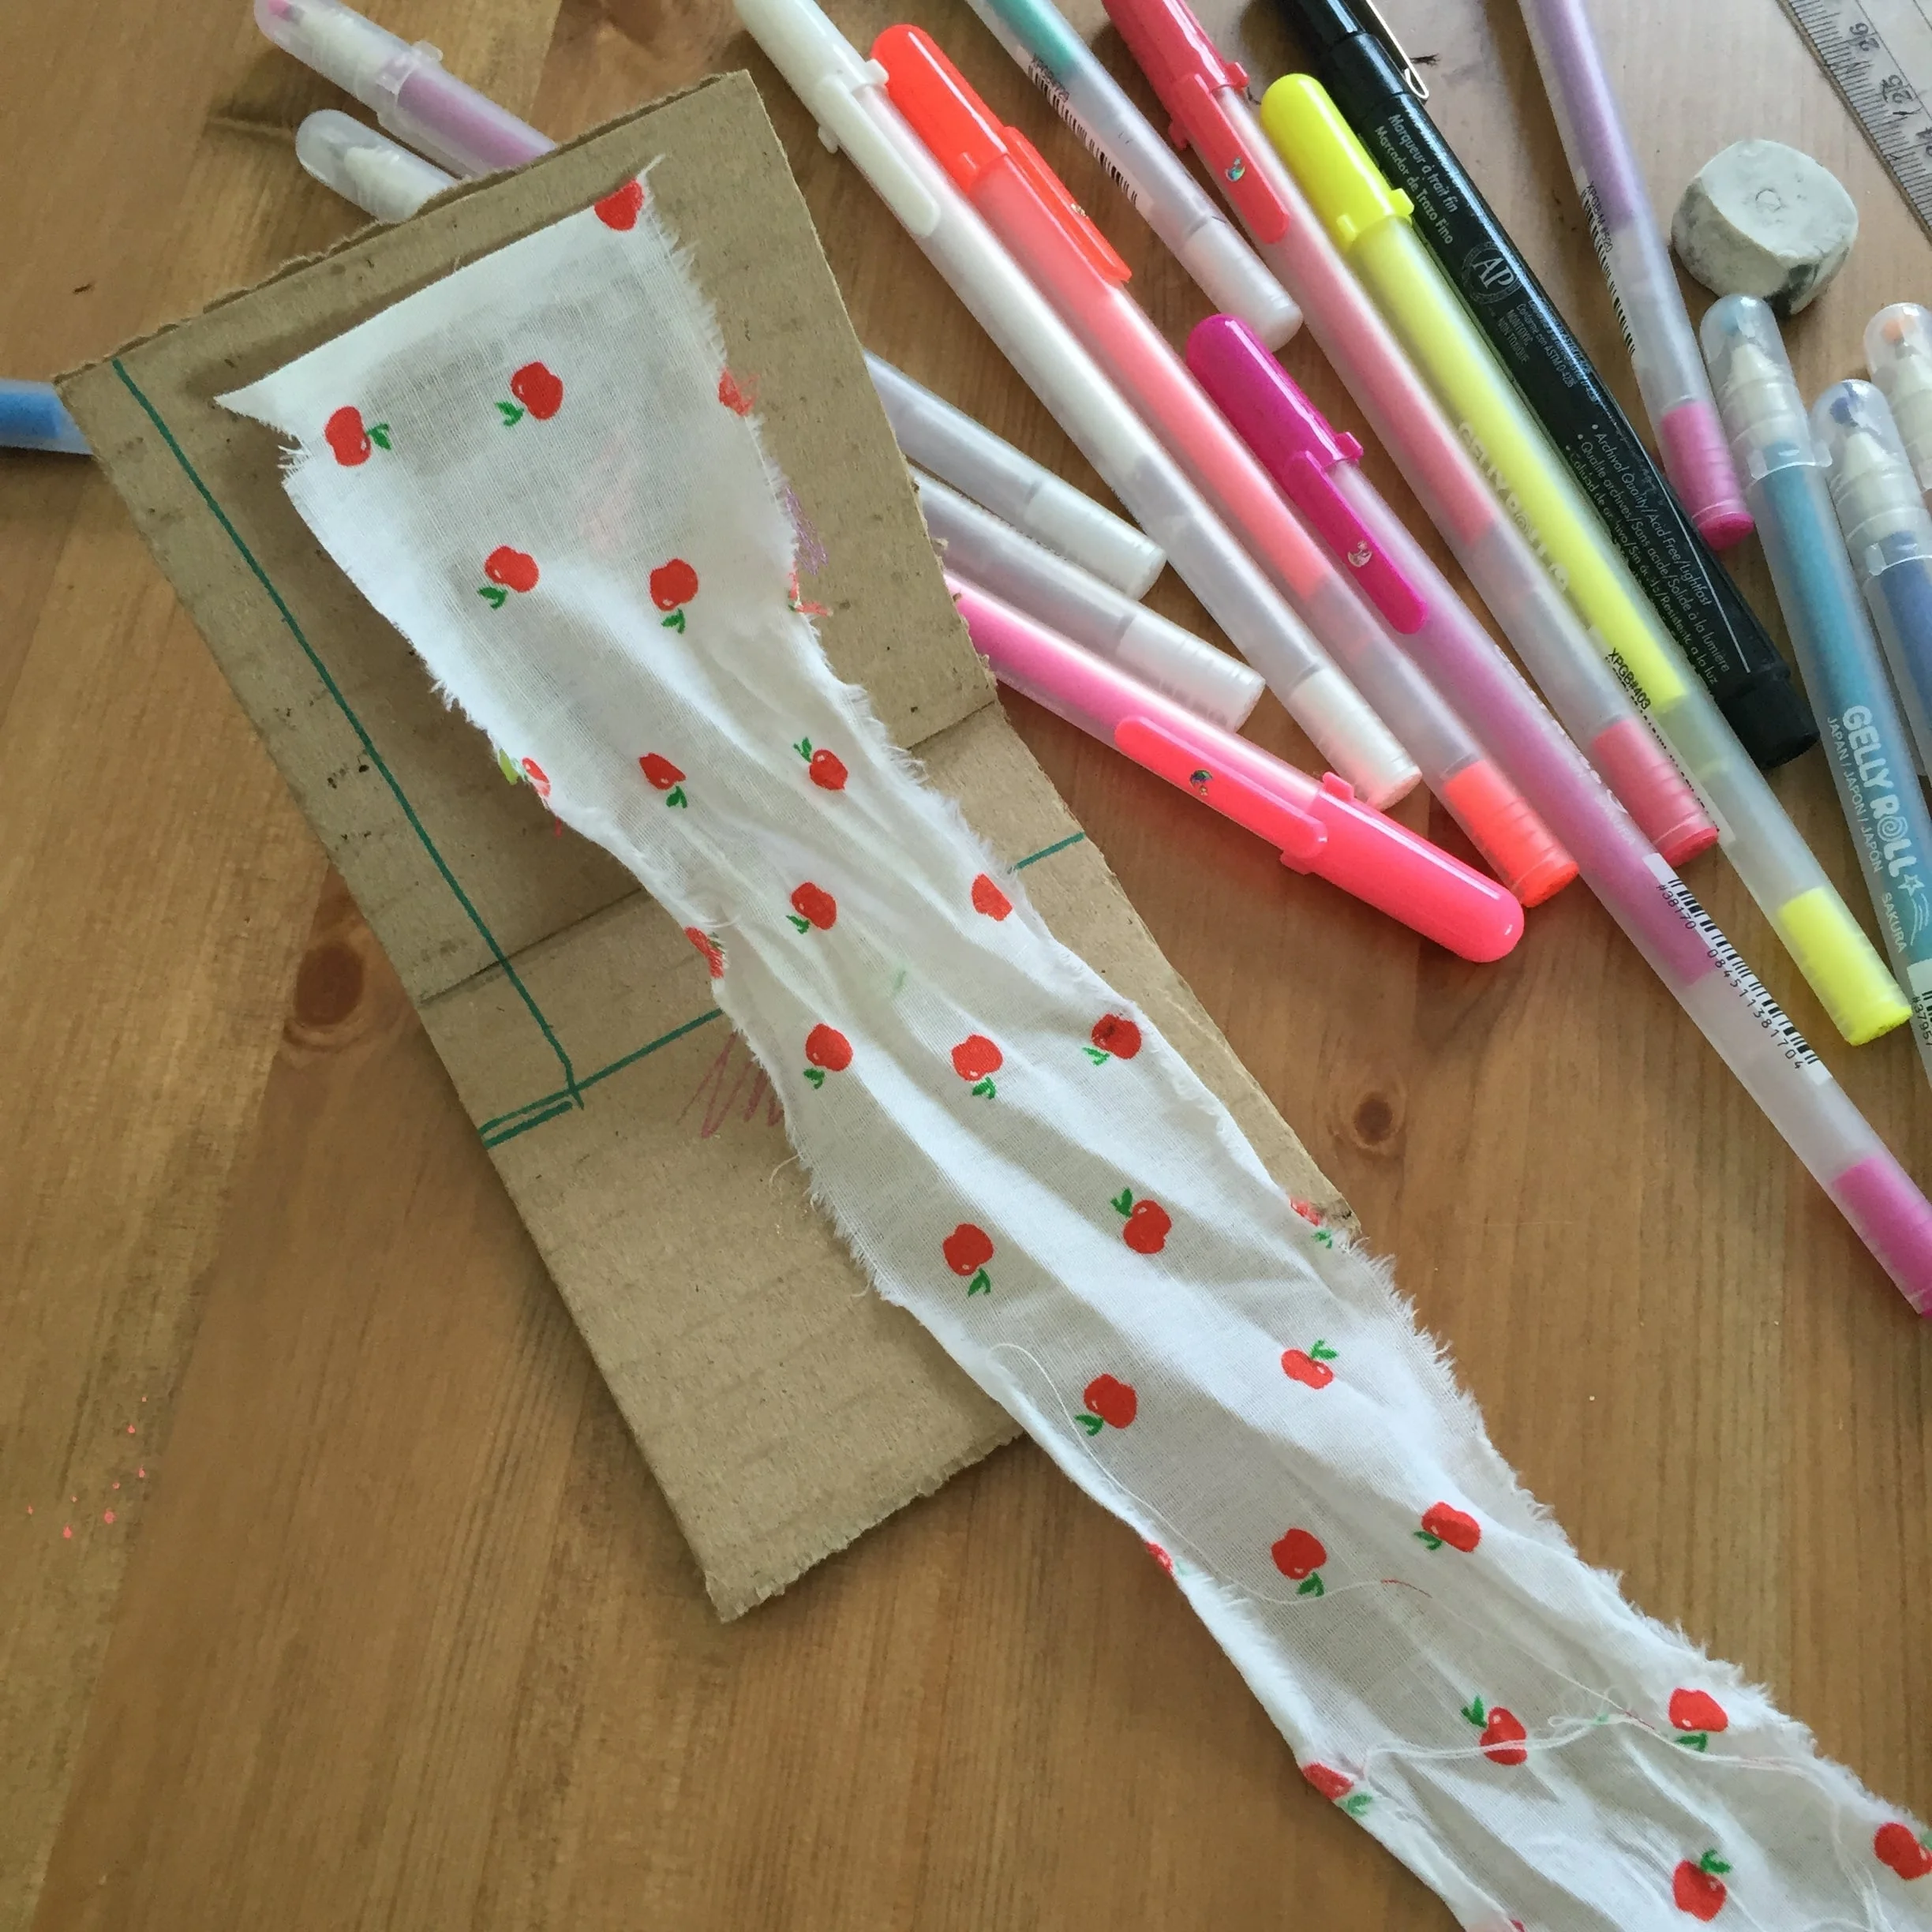
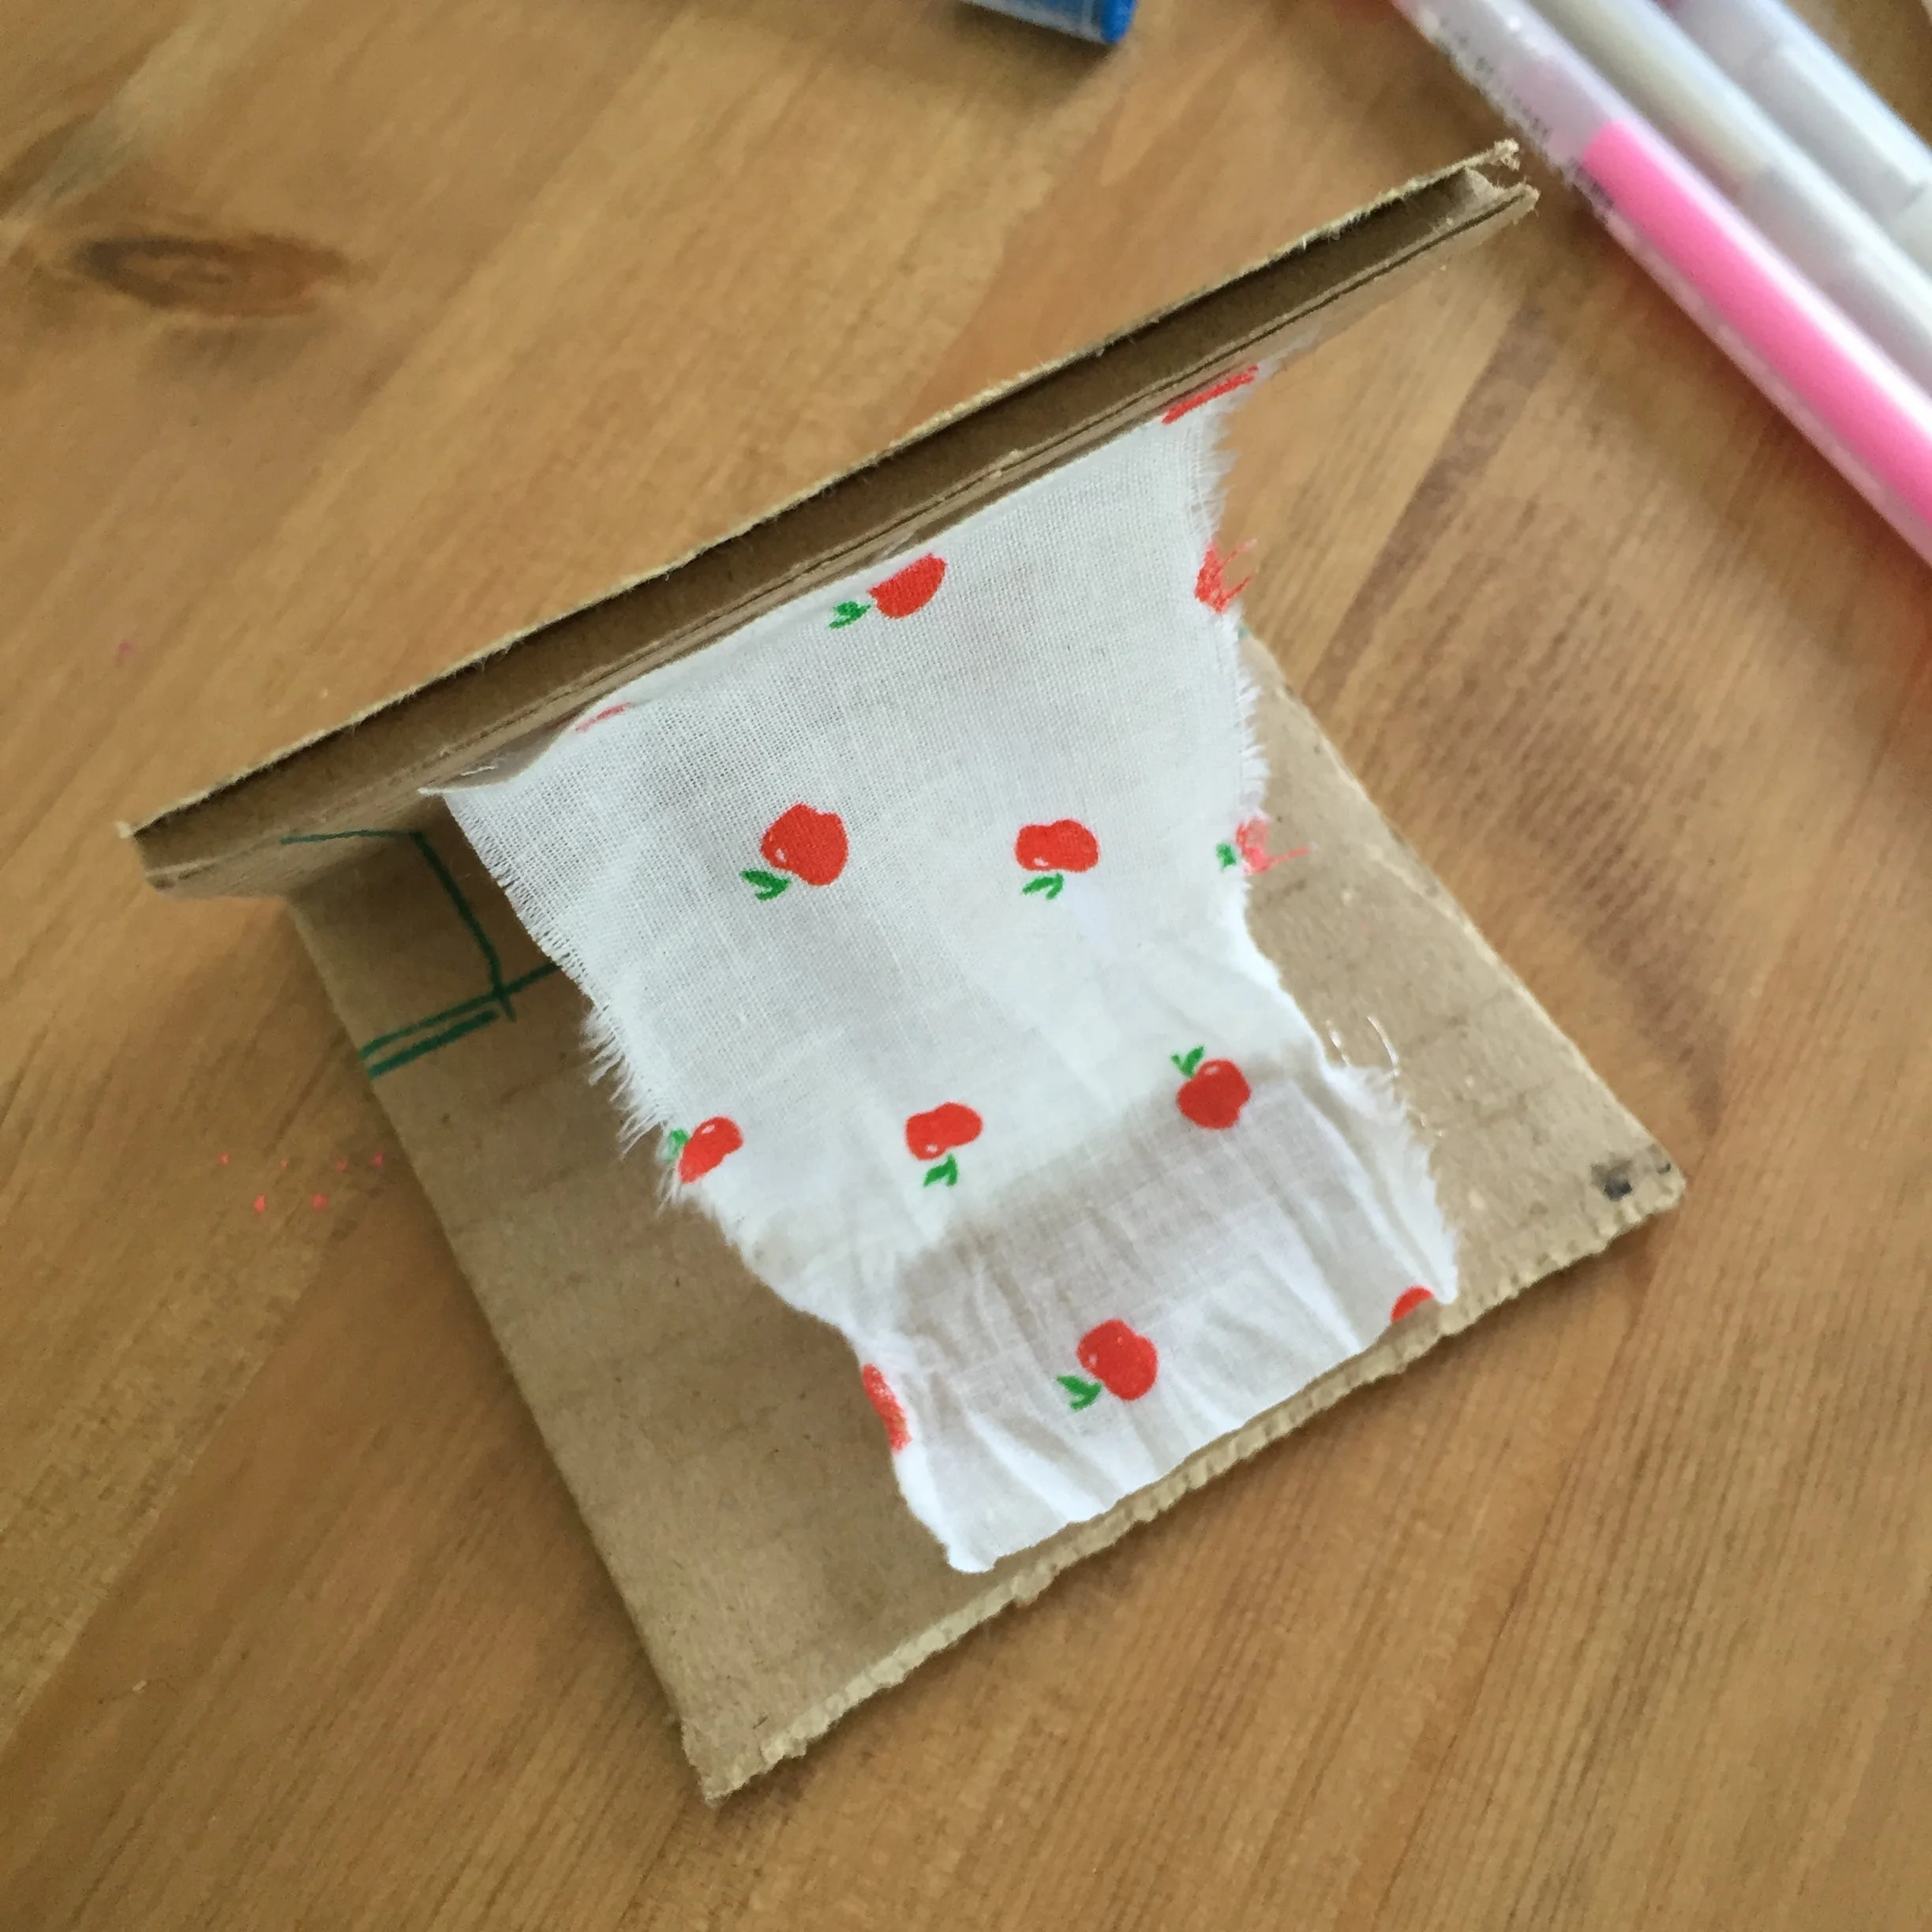
- Add more hot glue on the other side.
- Decide how you want the cardboard to stand up, and then glue the piece of fabric to the other end.
- Trim the fabric, and stand up your altar piece.
- It should hold sturdy.
- Add it to your altar!